This versatile herbal butter with fresh chives and garlic is simple to make and delicious! Chives pair wonderfully with butter and garlic for a spring treat that can be enjoyed now or frozen for later. Herb butter can be decorated with edible flowers and herbs to create a work of art for the table!
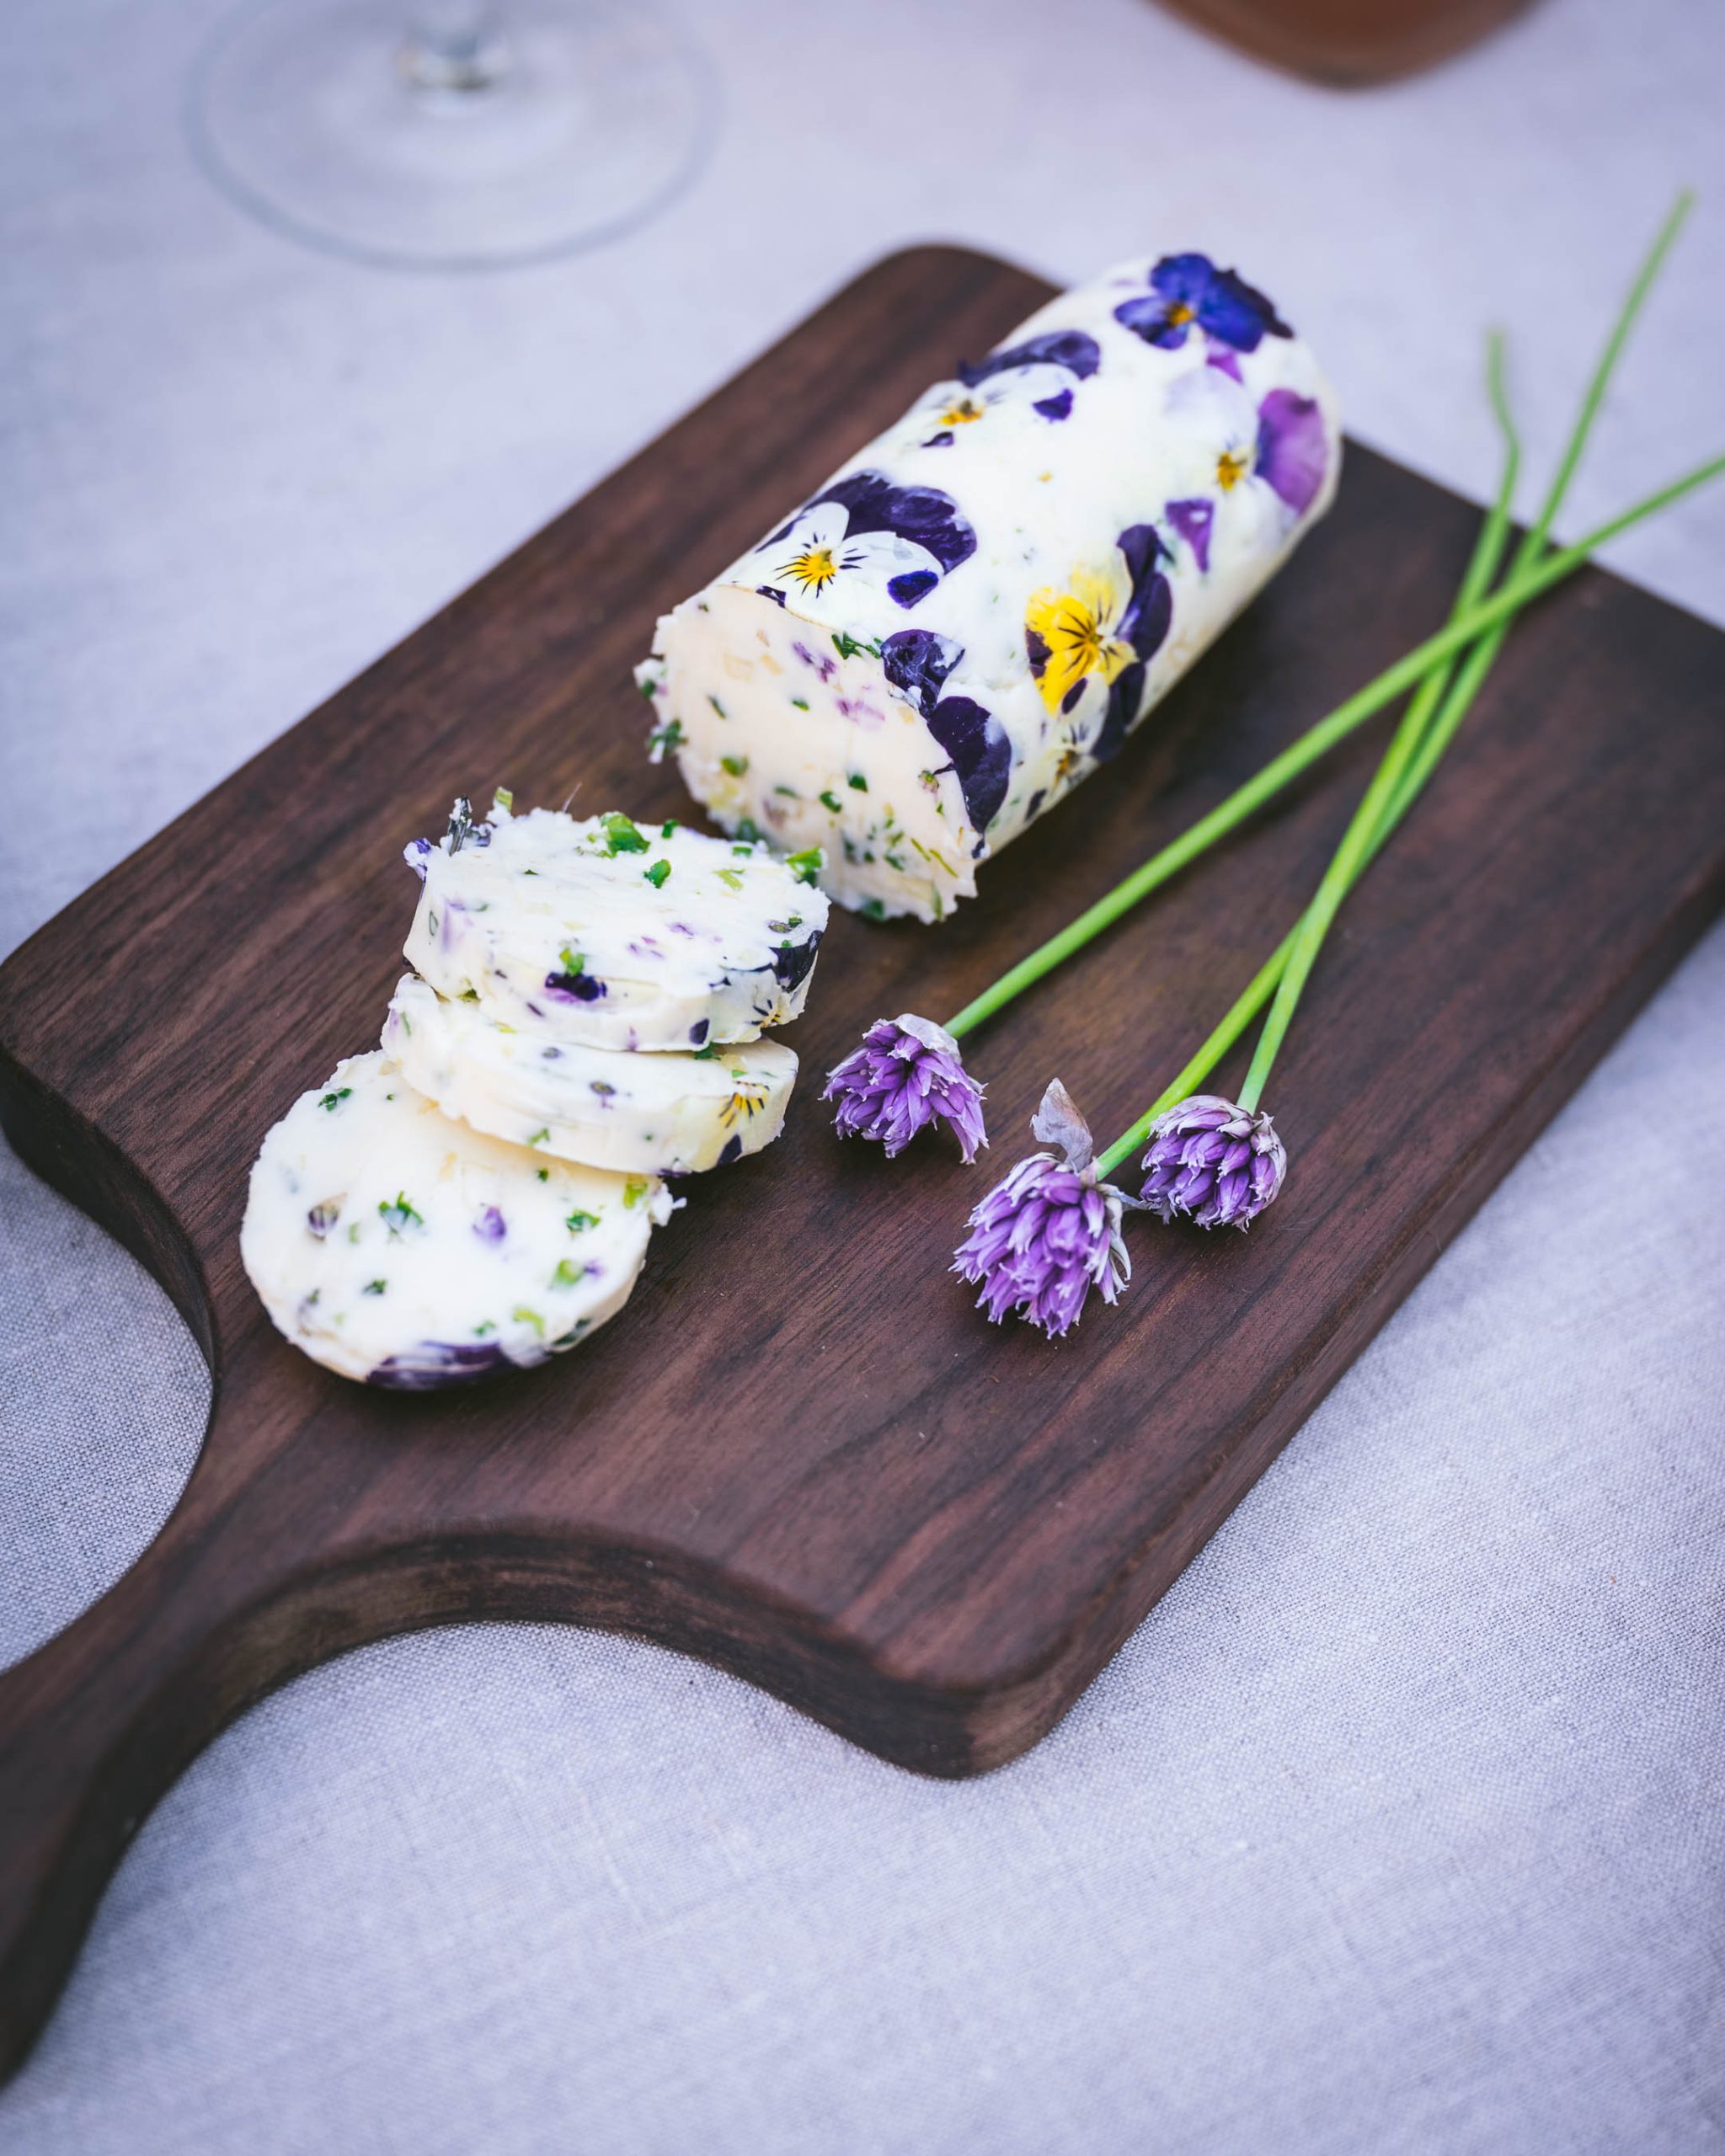
My little herb garden is bursting with life as it does every April. Chives are one of my favorite herbs to flower in spring. Two years ago, I planted chives in my wine barrel planters and waited excitedly for them to flower. Chives don’t bloom the first year you plant them, but once they get established, they will bloom for years to come.
Chives belong to the allium family and produce beautiful purple ball clusters of little pointed bell-shaped blossoms. They taste just like the tender green chive shoots. Chives are one of my all-time favorite edible flowers to use as a garnish for savory dishes, but they only last for a few weeks each spring. The good news is they dry and preserve easily so you can harvest and store them to enjoy long after their season has ended.
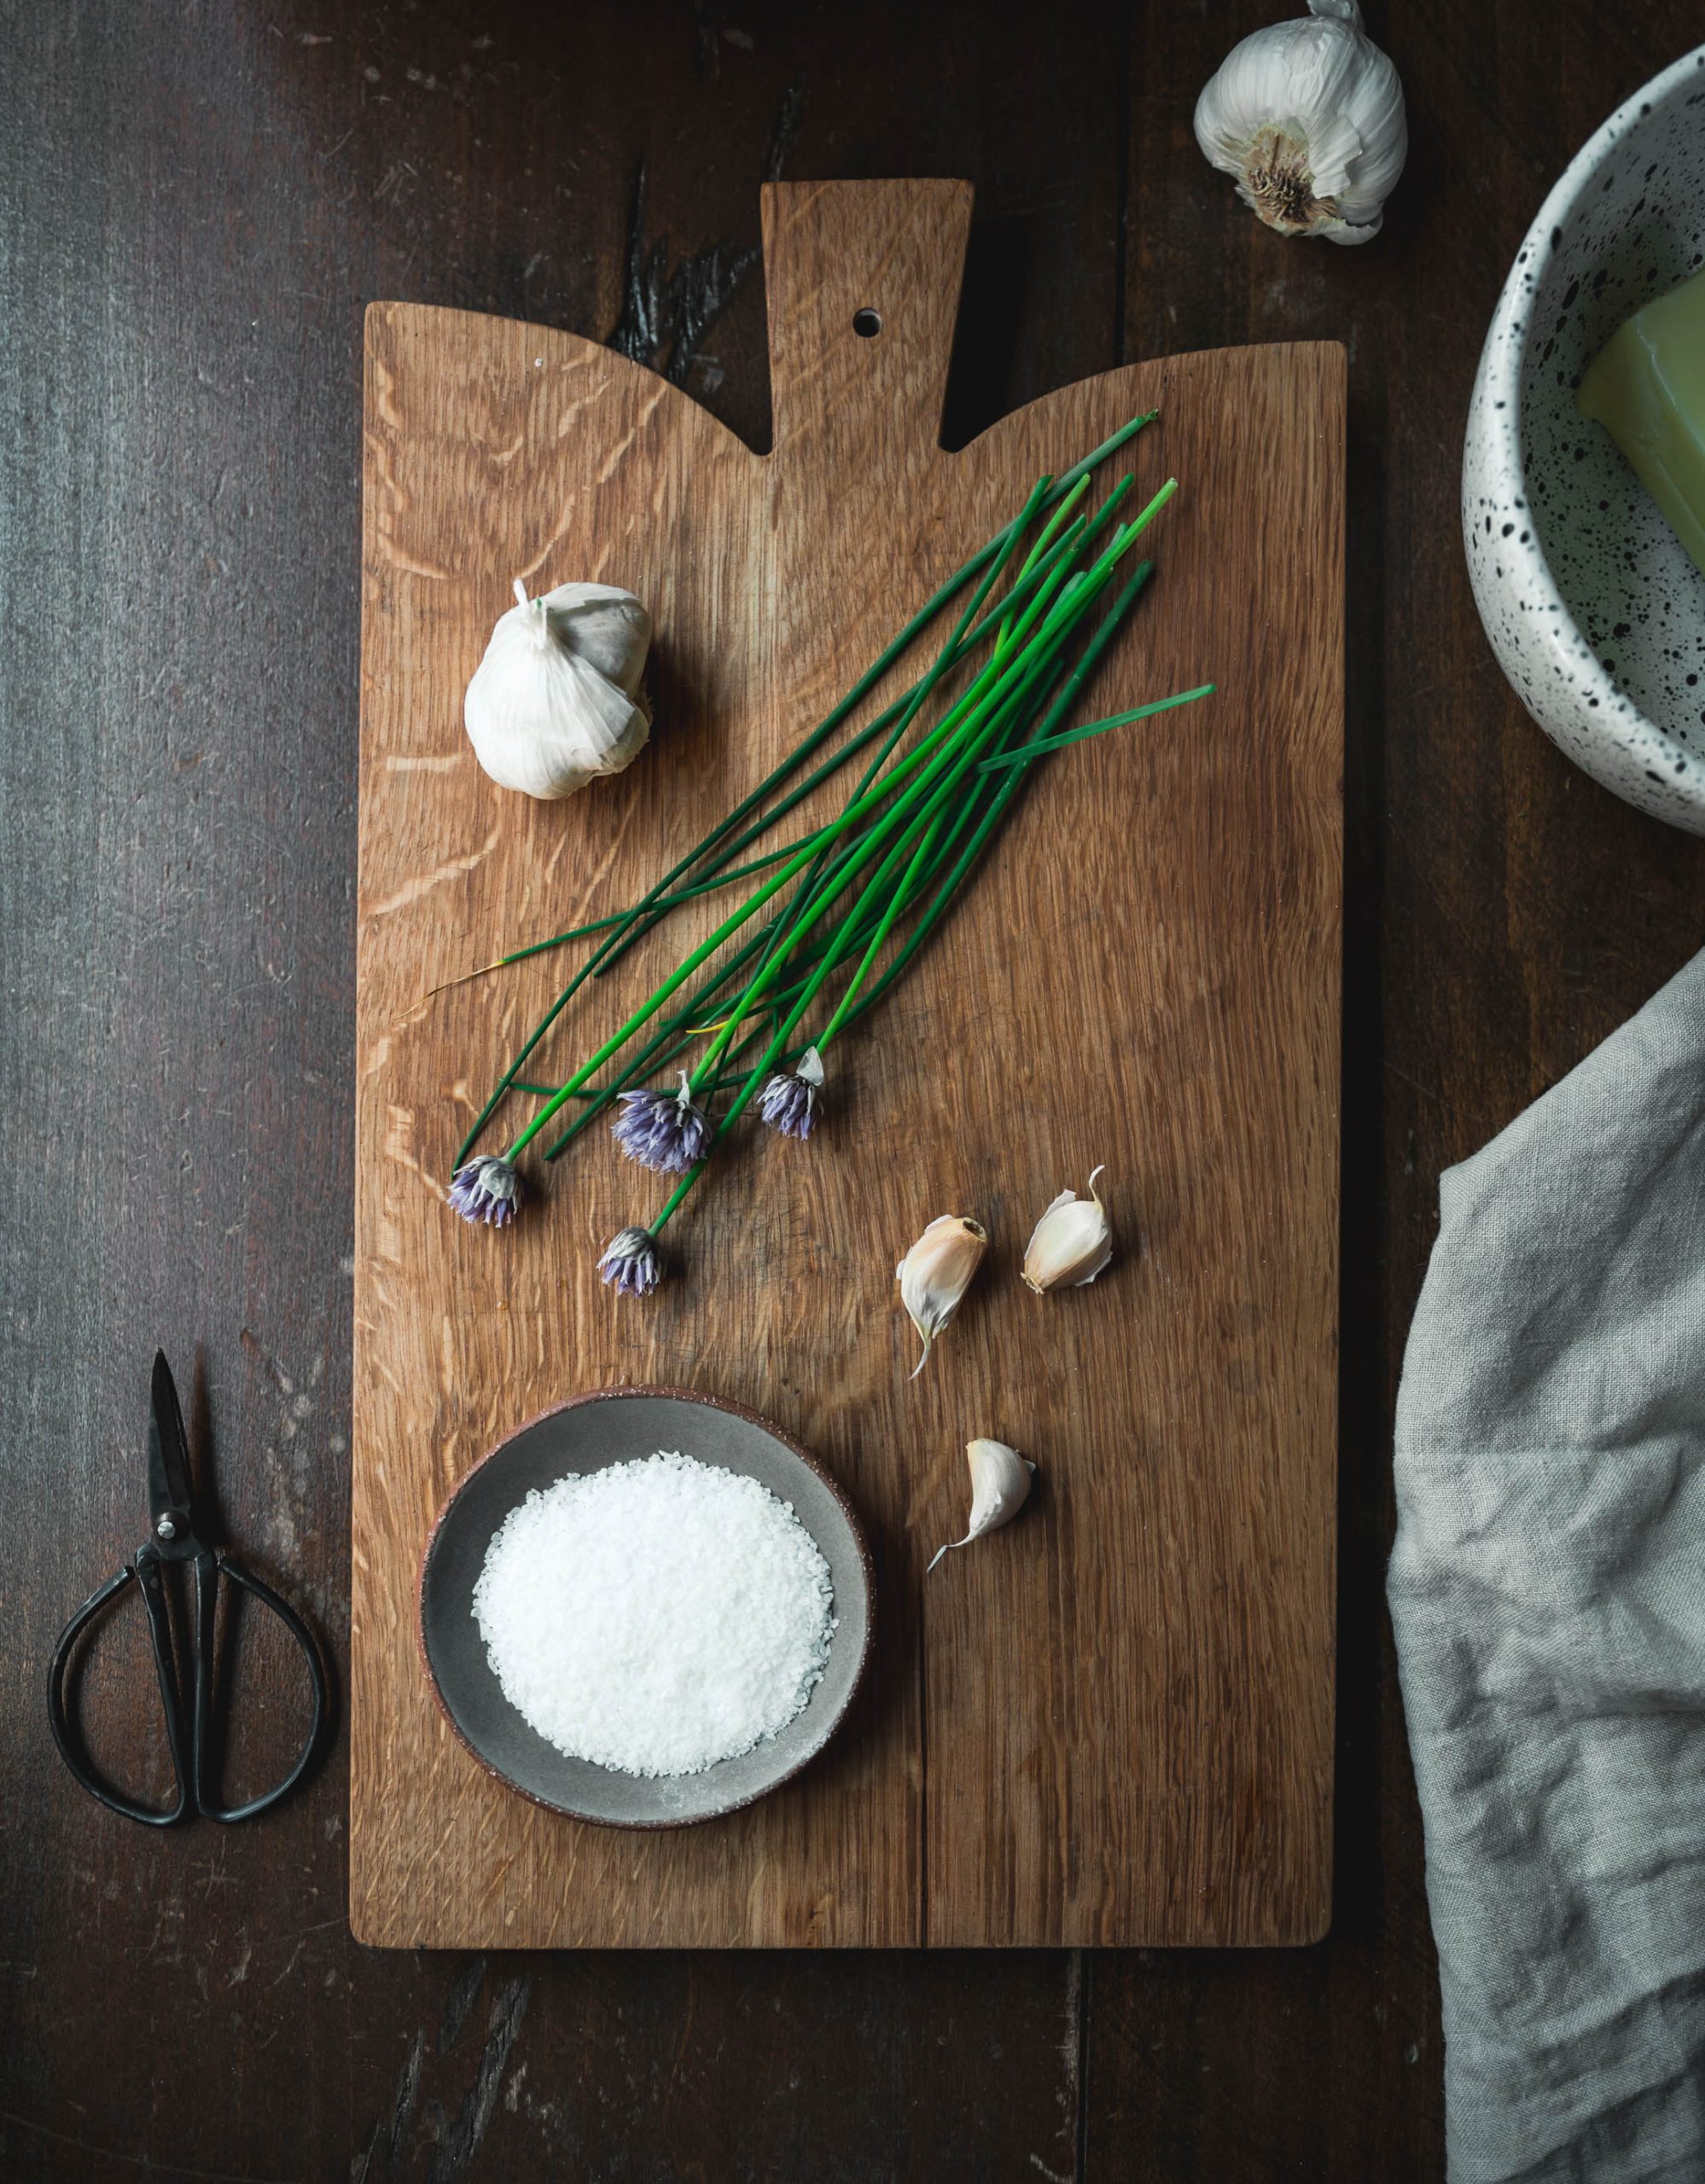
This chive blossom and garlic herbal butter is easy to make and combines the flavor of chives and garlic with butter and a touch of sea salt. It’s simple to make and adds quite a punch of garlic buttery flavor to savory dishes. Herbal butter is beautiful as is, or can be turned into a work of art by decorating it with edible flowers and herbs.
There’s nothing like chive and garlic butter on sourdough toast for breakfast! If you love garlic and chives, you will love the taste of this herbal butter. It’s great way to bring a little spring magic from the garden to the table and elevate savory foods.
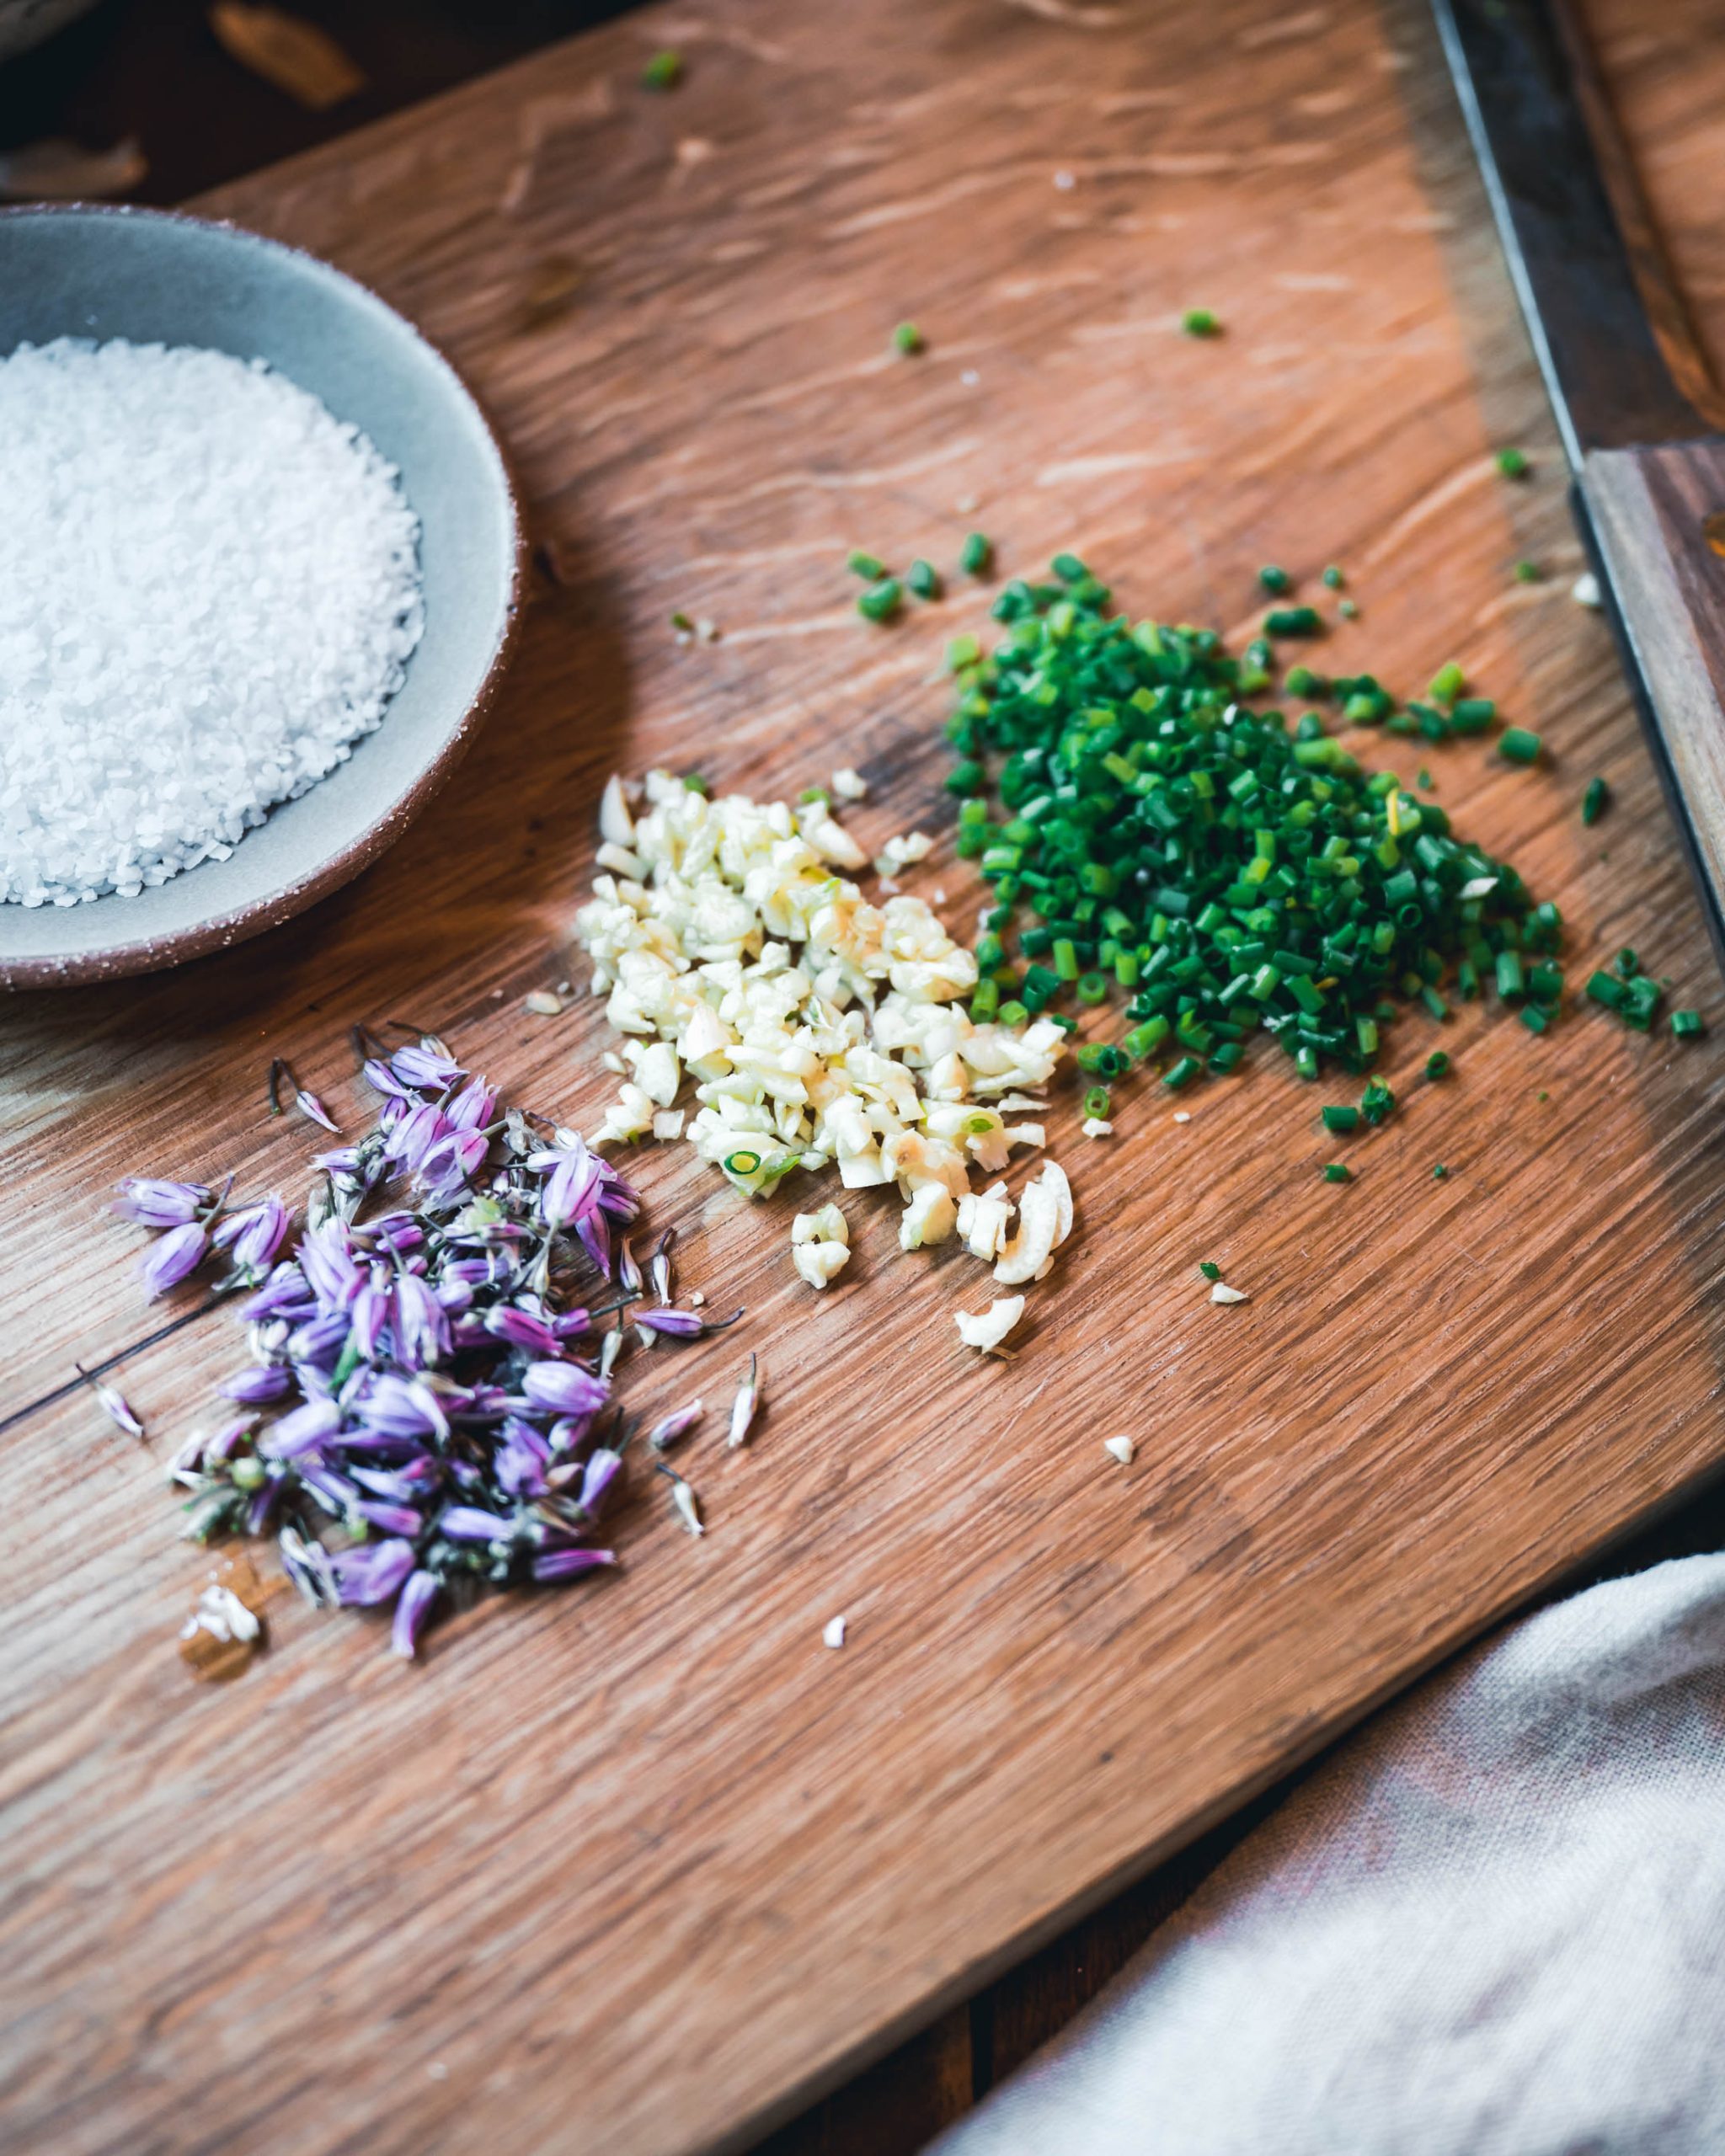
How to make chive blossom and garlic herb butter
The first step is to set a stick of butter out so it can soften to room temperature. I took mine out of the fridge and left it out overnight. Once the butter is softened, grab some scissors and head the the garden.
Harvest a small handful of flowering chives along with the green shoots. Chives pack a lot of flavor, so you only need 3 to 4 blossoms for one stick of butter. You will want to separate all the little flower “petals” into individual flowers.
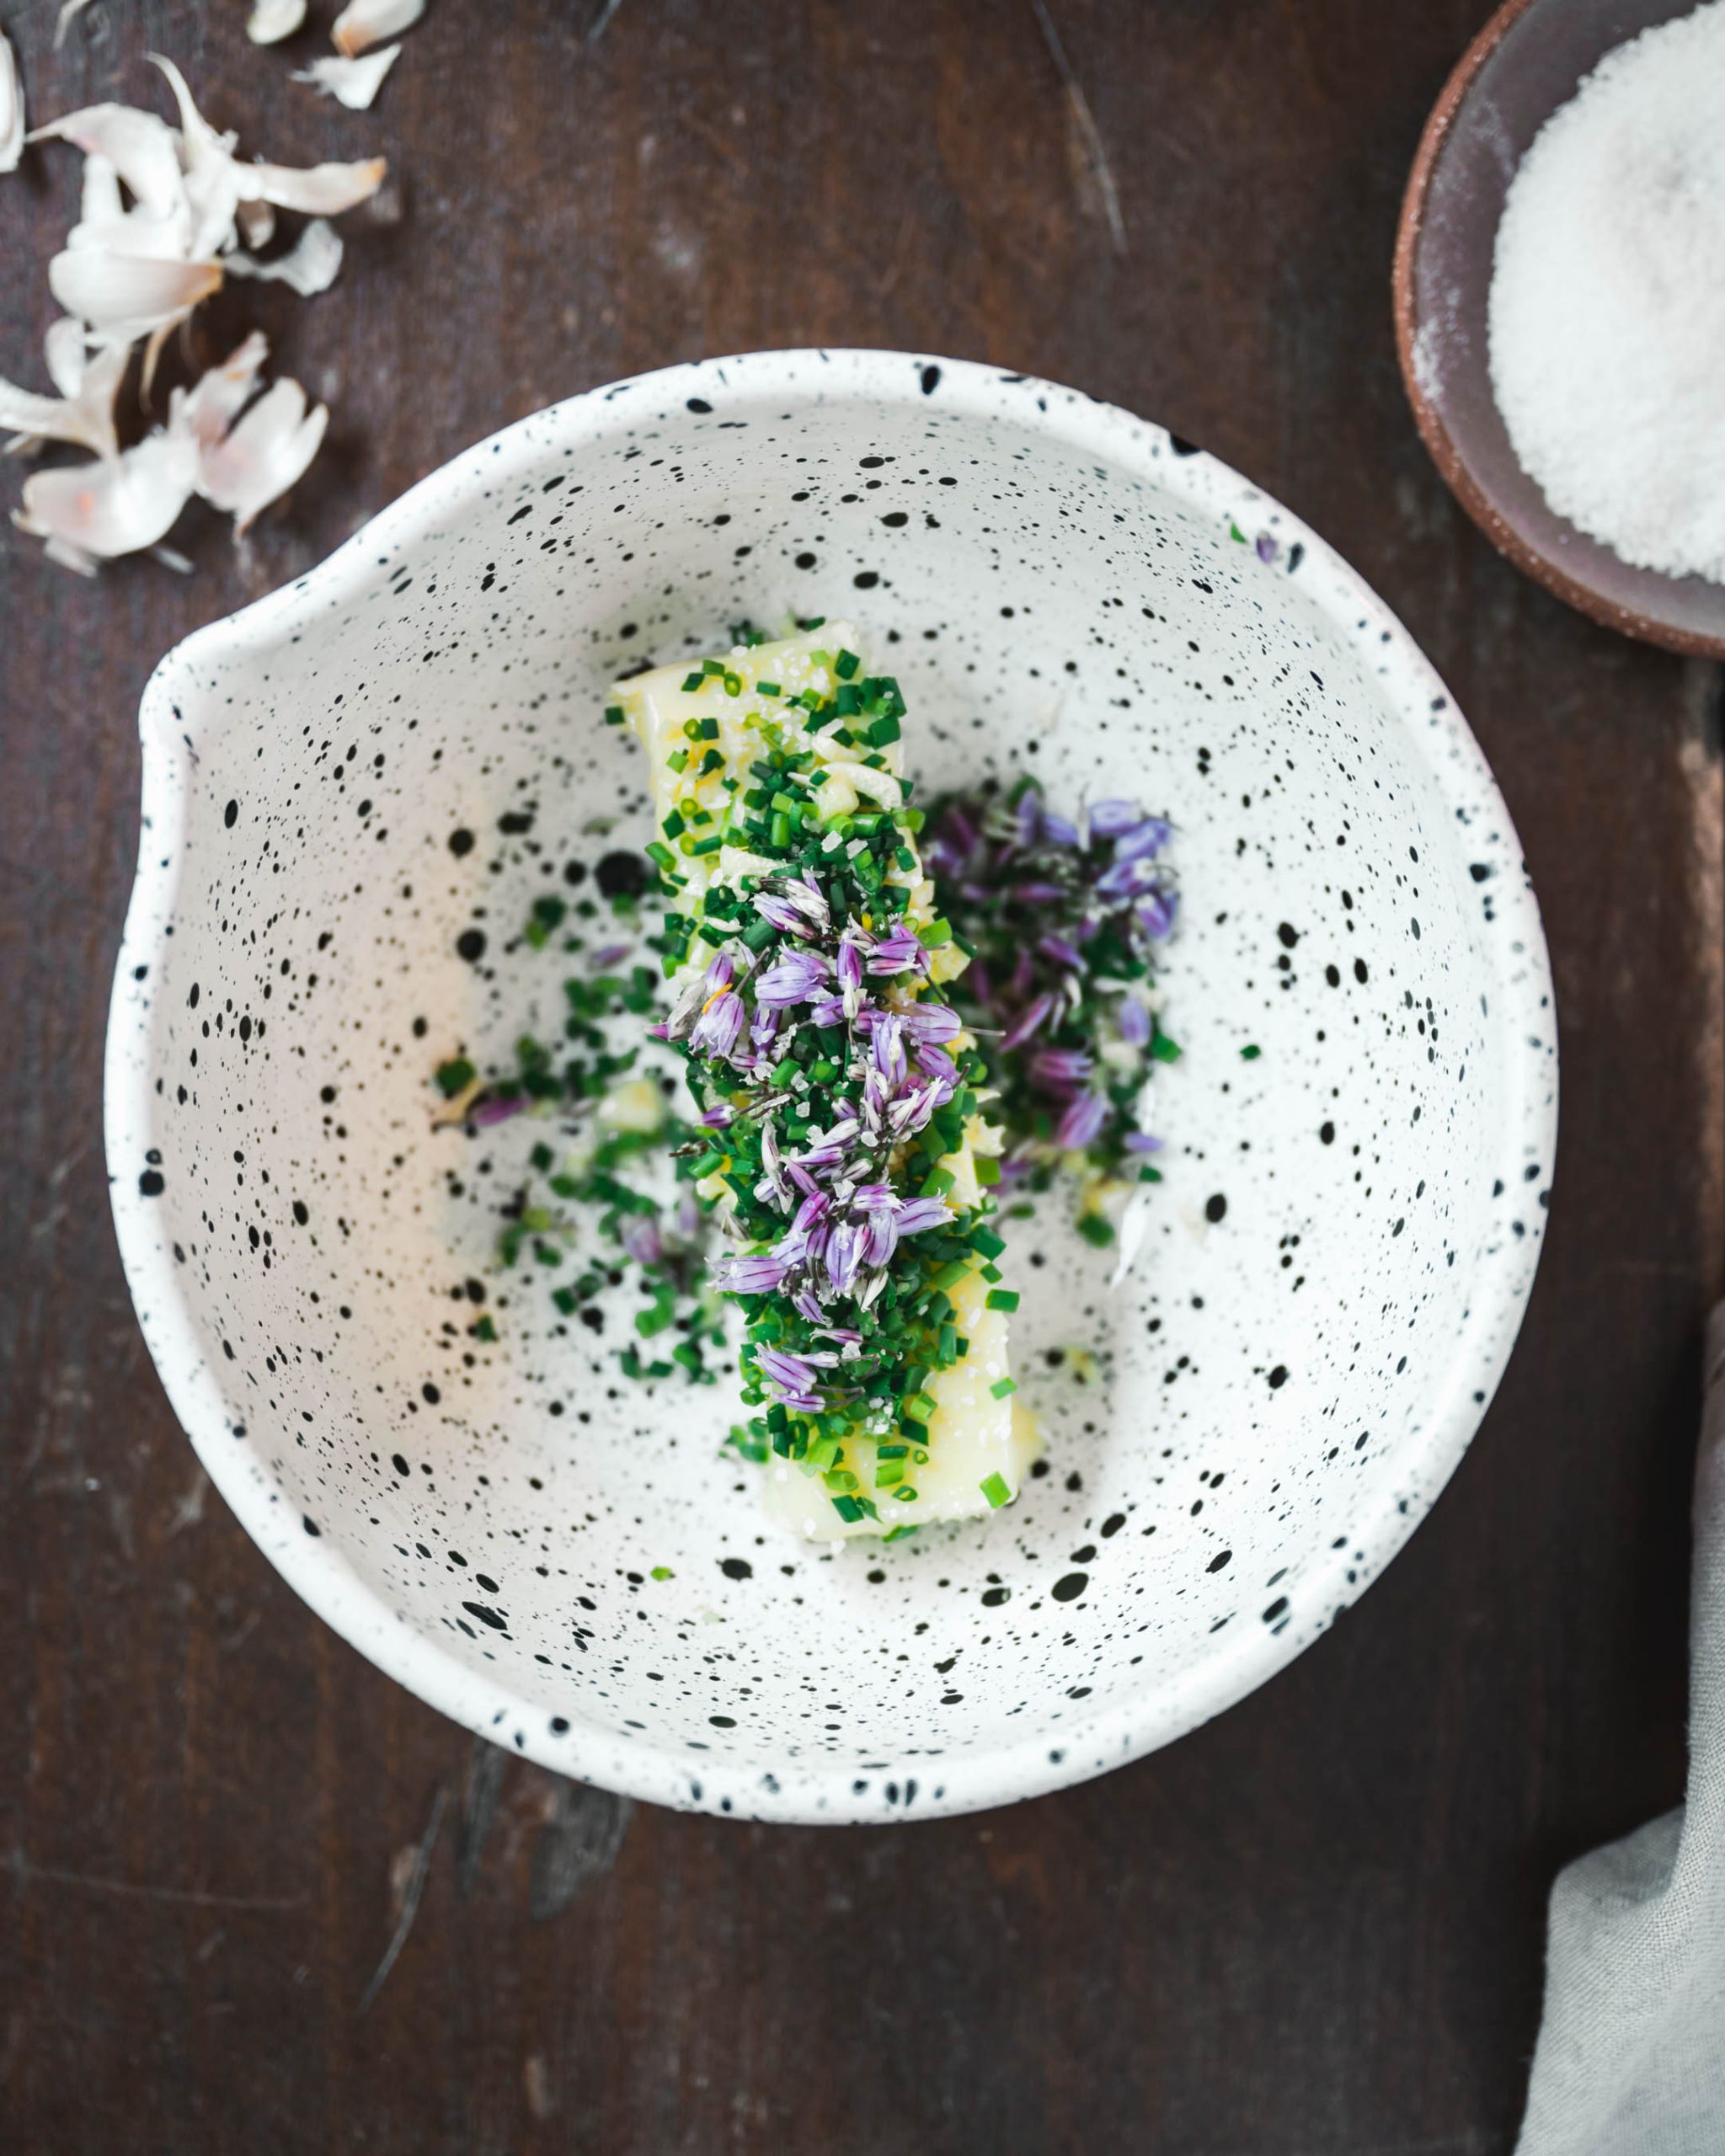
Combine the herbs and butter
Unwrap the stick of butter and place it in a bowl. Add the finely chopped garlic and chives. Sprinkle flaky sea salt on top. Then, grab a spoon or spatula and mix the herbs until they are thoroughly combined in the butter.
Then, spread the butter on a rectangular piece of cling or parchment paper. Use a spoon to shape the mixture into a rectangular shape roughly the size you want the final roll to be.
Next, decorate the butter with edible flowers and herbs by placing them on top of the butter all the way around. This takes a little practice, and I partially form the butter into a roll first to help make it easier.
Refrigerate the butter until solid
Once you are happy with the layout of the flowers, wrap the butter tightly and twist the ends shut. Refrigerate until the butter is completely solid again, about 2 hours. To serve, unwrap the butter and slice into 1/4″ thick slices.
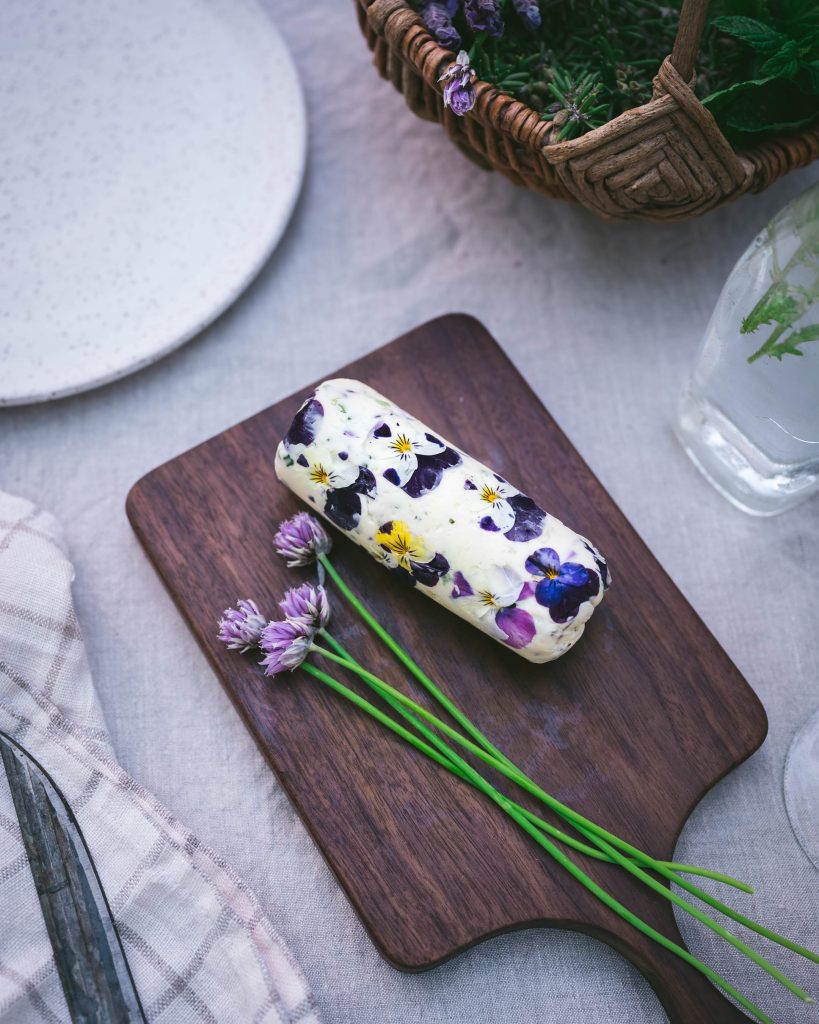
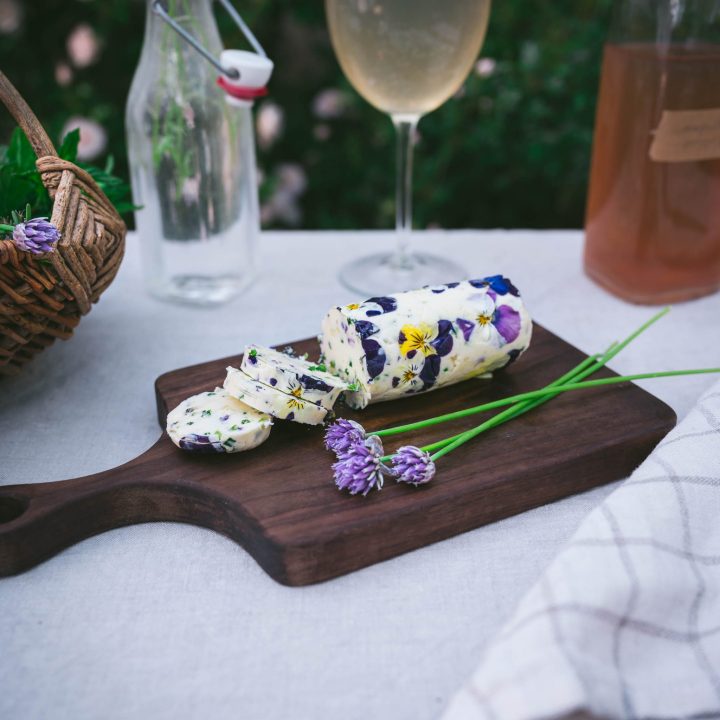
Chive Blossom and Garlic Herbal Butter
Chive blossom and garlic herbal butter is a delicious compound butter that tastes like chives and garlic. Decorated with edible flowers, this herb butter adds a touch of spring magic and a delicious flavor boost to savory foods straight from the garden.
Ingredients
- 1 stick butter at room temperature
- 2 tablespoon finely chopped chives
- 3 tablespoons chive blossoms, separated
- 2 large garlic cloves finely chopped
- Salt to taste (about ½ teaspoon flaky sea salt)
Instructions
1. Finely chop the garlic and chive shoots.
2. Separate the chive blossoms into individual flowers.
3. Combine the room temperature butter, chive flowers, chives, garlic,
and sea salt in a bowl. Use a spoon to mix the herbs into the butter until thoroughly combined.
4. Spread the mixture on a rectangular piece of parchment paper
or cling. Use a spoon to form a rectangle with the butter.
5. Wrap the butter and form into a roll with hands that is 4 to 5 inches long and 2 inches wide.
6. Unwrap the roll and decorate the butter with edible flowers and herbs around the roll. Rewrap with the cling or parchment paper and place the butter in the fridge.
7. Refrigerate until completely solid. When ready to use, unwarp the butter and slice into 1/4" slices.
Notes
Herbal butter can be frozen in the freezer and kept for months to enjoy later. Simply wrap the butter and place in and airtight container, and place in the freezer.
No Comments