Lacto-fermented hot sauce is a simple way to preserve the harvest from the garden. It’s delicious and full of healthy probiotics and so easy to make. This recipe only requires 20 minutes of hands-on time, and no special equipment!
Making homemade hot sauce is so easy and is a great way to preserve your harvest. This lacto-fermented hot sauce is a simple way to use some of those chilies from the garden to enjoy during the cold winter months.
While you can find a nice selection of hot sauce in stores, it’s so easy to make at home! Even better, you can experiment with various peppers and foraged and homegrown ingredients so you have full control over the flavors and level of heat.
There’s nothing like opening a jar of hot sauce in the winter to add a little heat and flavor to roasts, omelets, and veggies. It can be made in large batches and keeps for months in the refrigerator. I love to give bottles of wild fermented hot sauce for the holidays.
Vinegar Hot Sauce vs. Fermented Hot Sauce
Hot sauce is a kithcen staple that most spice lovers have quite the collection of. Homemade hot sauces fall under two broad categories: vinegar based vs. fermented. Vinegar-based hot sauces are made with a blend of chiles, vinegar, salt, and spices for a sharp, spicy condiment. Thanks to the vinegar, these hot sauces are typically shelf stable thanks to the low pH level which prevents spoilage.
Fermented hot sauce requires just a little more planning and time, and results in an arguably more delicious hot sauce that contains probiotic bacteria and that gets better the longer it ages. Many common hot sauces, such as Tabasco and Sriracha are in fact fermented hot sauces.
While fermentation can be intimidating at first, it’s very straightforward to master. You simply chop up vegetables, add salt and massage it in, and thanks to the lactic acid bacteria, the pH lowers creating a brine that inhibits the growth of harmful bacteria.
This is the same process that is used to create sauerkraut and kimchi. With hot sauce, after a fermentation period of one to two weeks, you simply take the tangy fermented peppers and blend them into a puree.
*Many fermented hot sauces have some vinegar added to enhance the flavor and lower the pH further to increase the shelf stability.
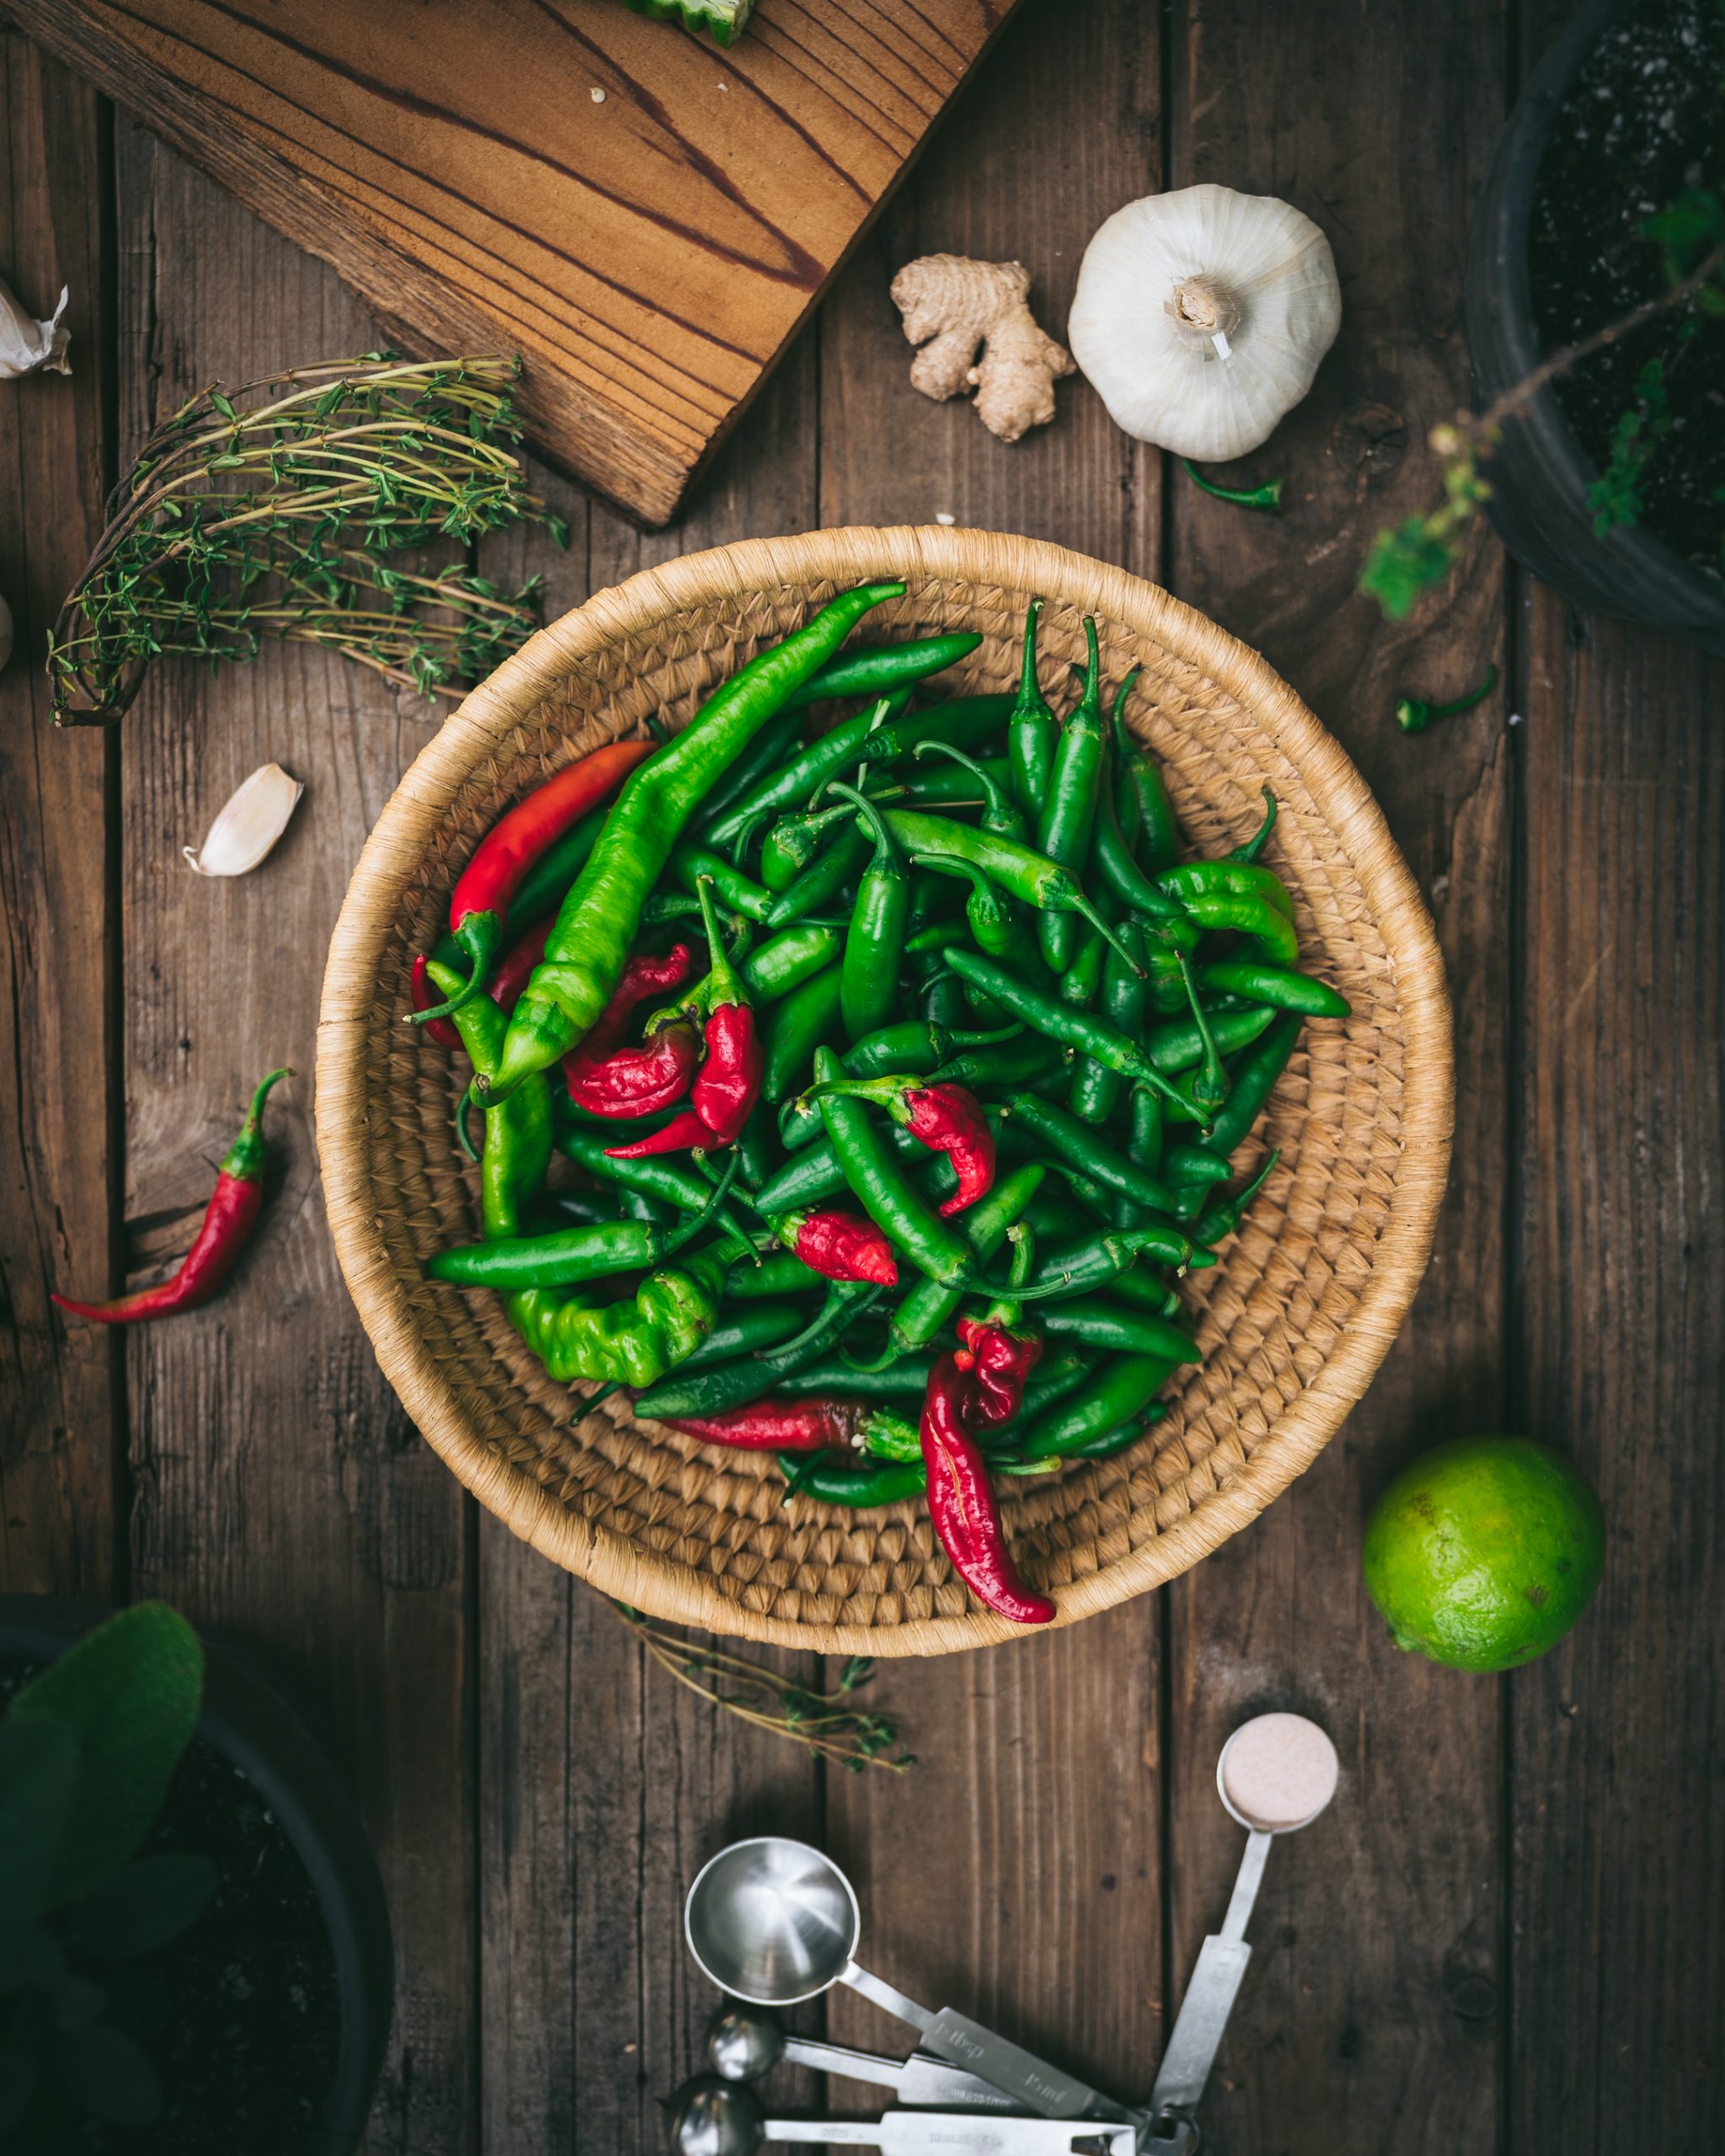
Tips For Choosing Peppers
The peppers you choose will have the greatest impact on the flavor, texture, and color of the finished sauce. Fresh peppers will have the maximum microbial colony for a successful fermentation.
For a colorful and vibrant finished sauce, choose peppers and ingredients that are in the same color palette. For example, if using orange chiles, you could choose orange/neutral ingredients such as carrots, onions, ginger, and garlic. Or, if using green jalapeños, stick with a green color palette such as Mexican oregano, clicantro, limes, cumin, and garlic.
- Look for peppers that are haven’t been sprayed with pesticides, coated with wax, or irradiated to extend their shelf life.
- Organic peppers check these boxes but growing your own or choosing peppers from a friend or the farmer’s market is your best bet.
- Dried peppers can be used but will need a fresh source of microbes for a reliable fermentation. Examples would be to add leftover brine from a previous fermentation, or add fresh garlic, honey, or at least some fresh chile.
- Adding dried peppers allows you to create whole new flavors because the drying process concentrates the flavors and creates earthy aromas not present in fresh peppers.
- Chiles dried with smoke, such as chipotle morita chiles, have an intense smoky flavor that creates a wonderful finished fermented sauce.
- And chiles dried with smoke, such as chipotle morita chiles, have an intense flavor that carries over into a finished fermented sauce.
- Taste your peppers first to choose the spice level and flavor combinations.
How To Choose the Spice Level
Chile peppers have widely different levels of heat depending on the variety. Habaneros or Thai chiles pack some serious heat, while others like jalapeño or Fresno chiles are milder. Unless you want a hot sauce that packs extreme heat, it’s best to balance spicy chiles with milder ingredients.
For a true chile pepper flavor, simply combine spicy chiles with sweet peppers to create a hot sauce with your desired level of heat. Or experiment by adding various fruits, berries, and vegetables to create seasonal hot sauce flavors that are unique to your garden and environment.
In addition, you can first roast or char the chiles, though you would need to add a fresh source of microbes for a successful fermentation. The possibilities are truly endless and adding homegrown and foraged ingredients just opens up a whole new realm of flavor combinations.
Salt Brine vs. Kraut Style Fermentation
Salt Brine
You have two options for fermenting peppers. One is to make a salt brine to cover the peppers and weight them down with a fermentation weight to keep them submerged.
You don’t need to chop your ingredients much with this method, as they stay submerged below the brine very well. There is a very low chance of mold growing with a salt brine, so this method is ideal if you don’t want to baby your ferment.
However, using salt brine can dilute the flavors of hot sauce, since some of the flavor seeps out into the brine during fermentation (you discard most of the brine at the end). This still creates a tasty hot sauce, if a bit tangier and milder than the second method.
Mash or Kraut-Style Fermentation
The second method is when you finely chop or grind up the peppers and massage the salt in them to extract their juices without adding any water.
The salt draws out the moisture from the peppers and vegetables, which seeps out to create a salty brine and fills the spaces between the chopped peppers. (Think similar to how you make kimchi or sauerkraut).
The brine creates that anaerobic environment that is needed for a successful lacto-fermentation, but without diluting the flavors. Typically, the peppers have plenty of juice in them to make enough brine to submerge the peppers without adding water.
The downside to kraut-style fermentation? You have to mix it at least three times a day! The peppers will rise to the surface during fermentation, so the top layer is exposed to air and can develop mold.
To limit mold growth, you can use an airlock, monitor the ferment, and mix three times a day to keep the peppers submerged in the brine.
How To Make Lacto-Fermented Hot Sauce
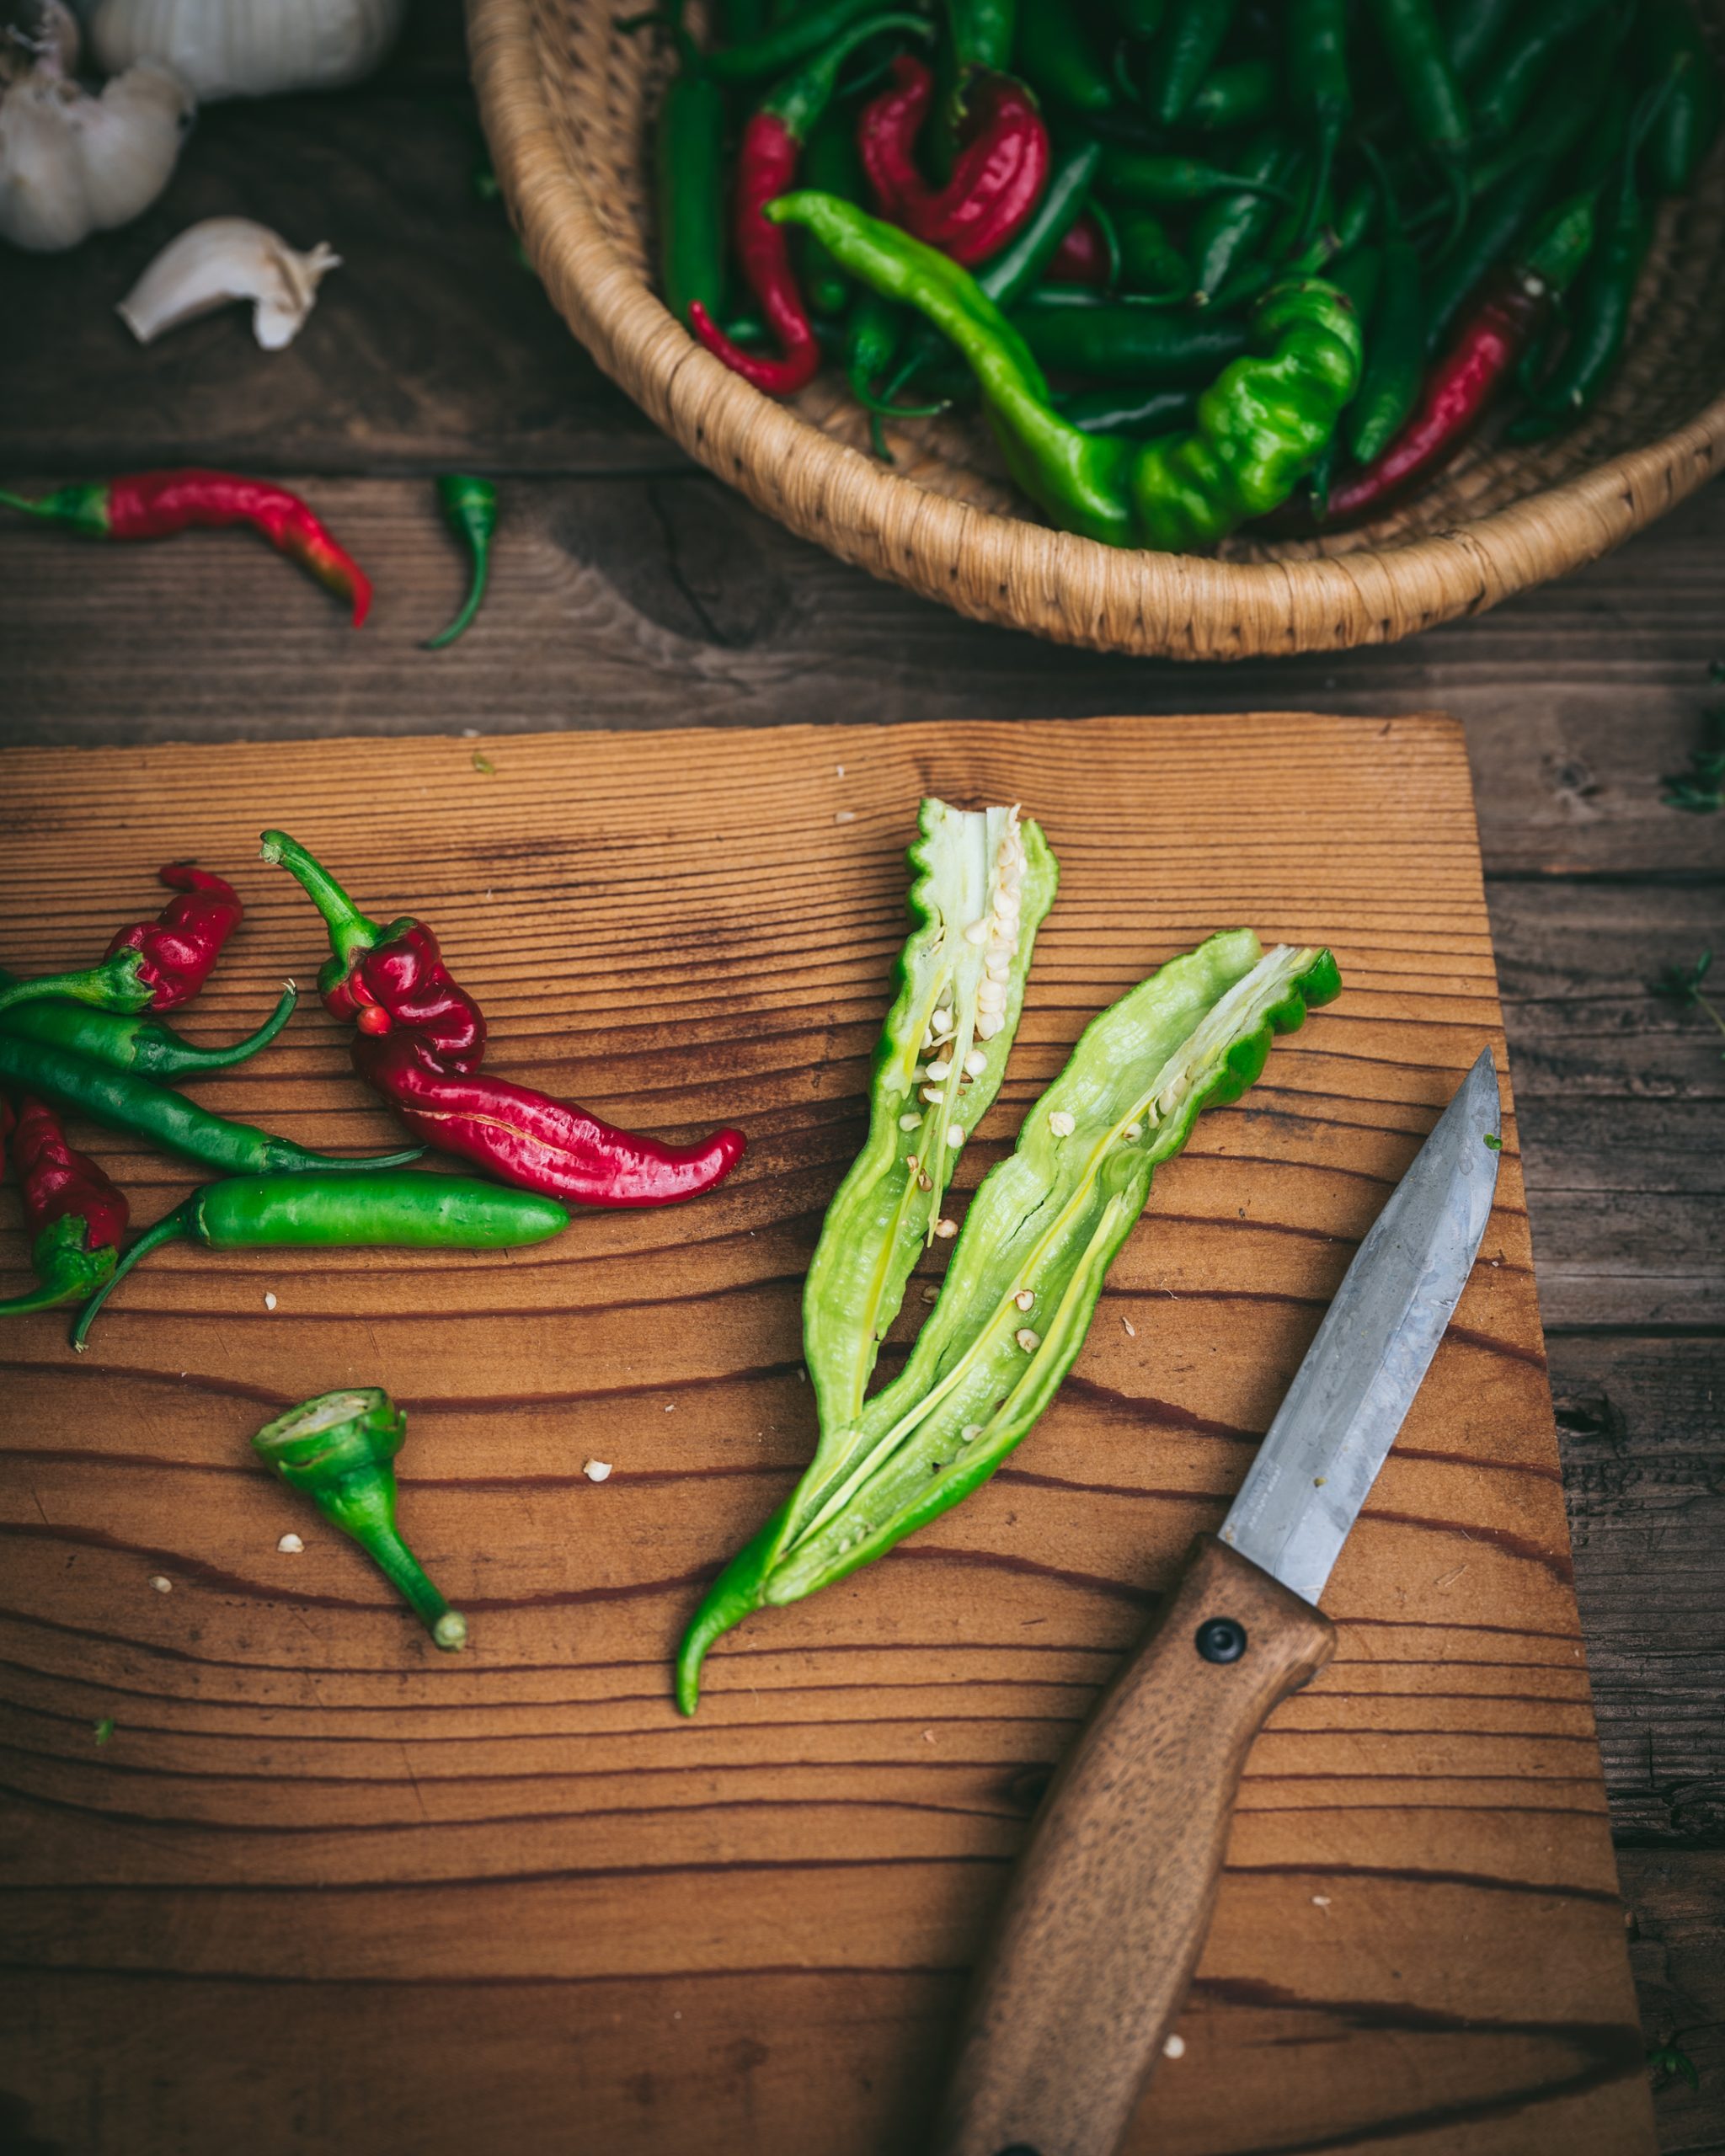
Select and Prep the Peppers
Once you have selected the peppers (and various ingredients, if using), prep your peppers. This can be as simple as rinsing and drying the peppers. Slice off the stems and deseed the peppers as needed. Also note that the seeds typically contain much of the heat in spicy chiles.
Char or roast the peppers if desired to concentrate the flavors and coax out their natural sweetness. Charring in particular adds a smoky flavor to hot sauces that remains even after fermentation, similar to chipotle peppers.
If you do cook the peppers before fermenting them, the heat destroys the microbes on them. So, you will need to add a fresh source of microbes to kickstart the fermentation, such as fresh peppers you set aside and/or other fresh produce.
Also, cool the peppers before combining them with the fresh ingredients to avoid heating up the microbes.
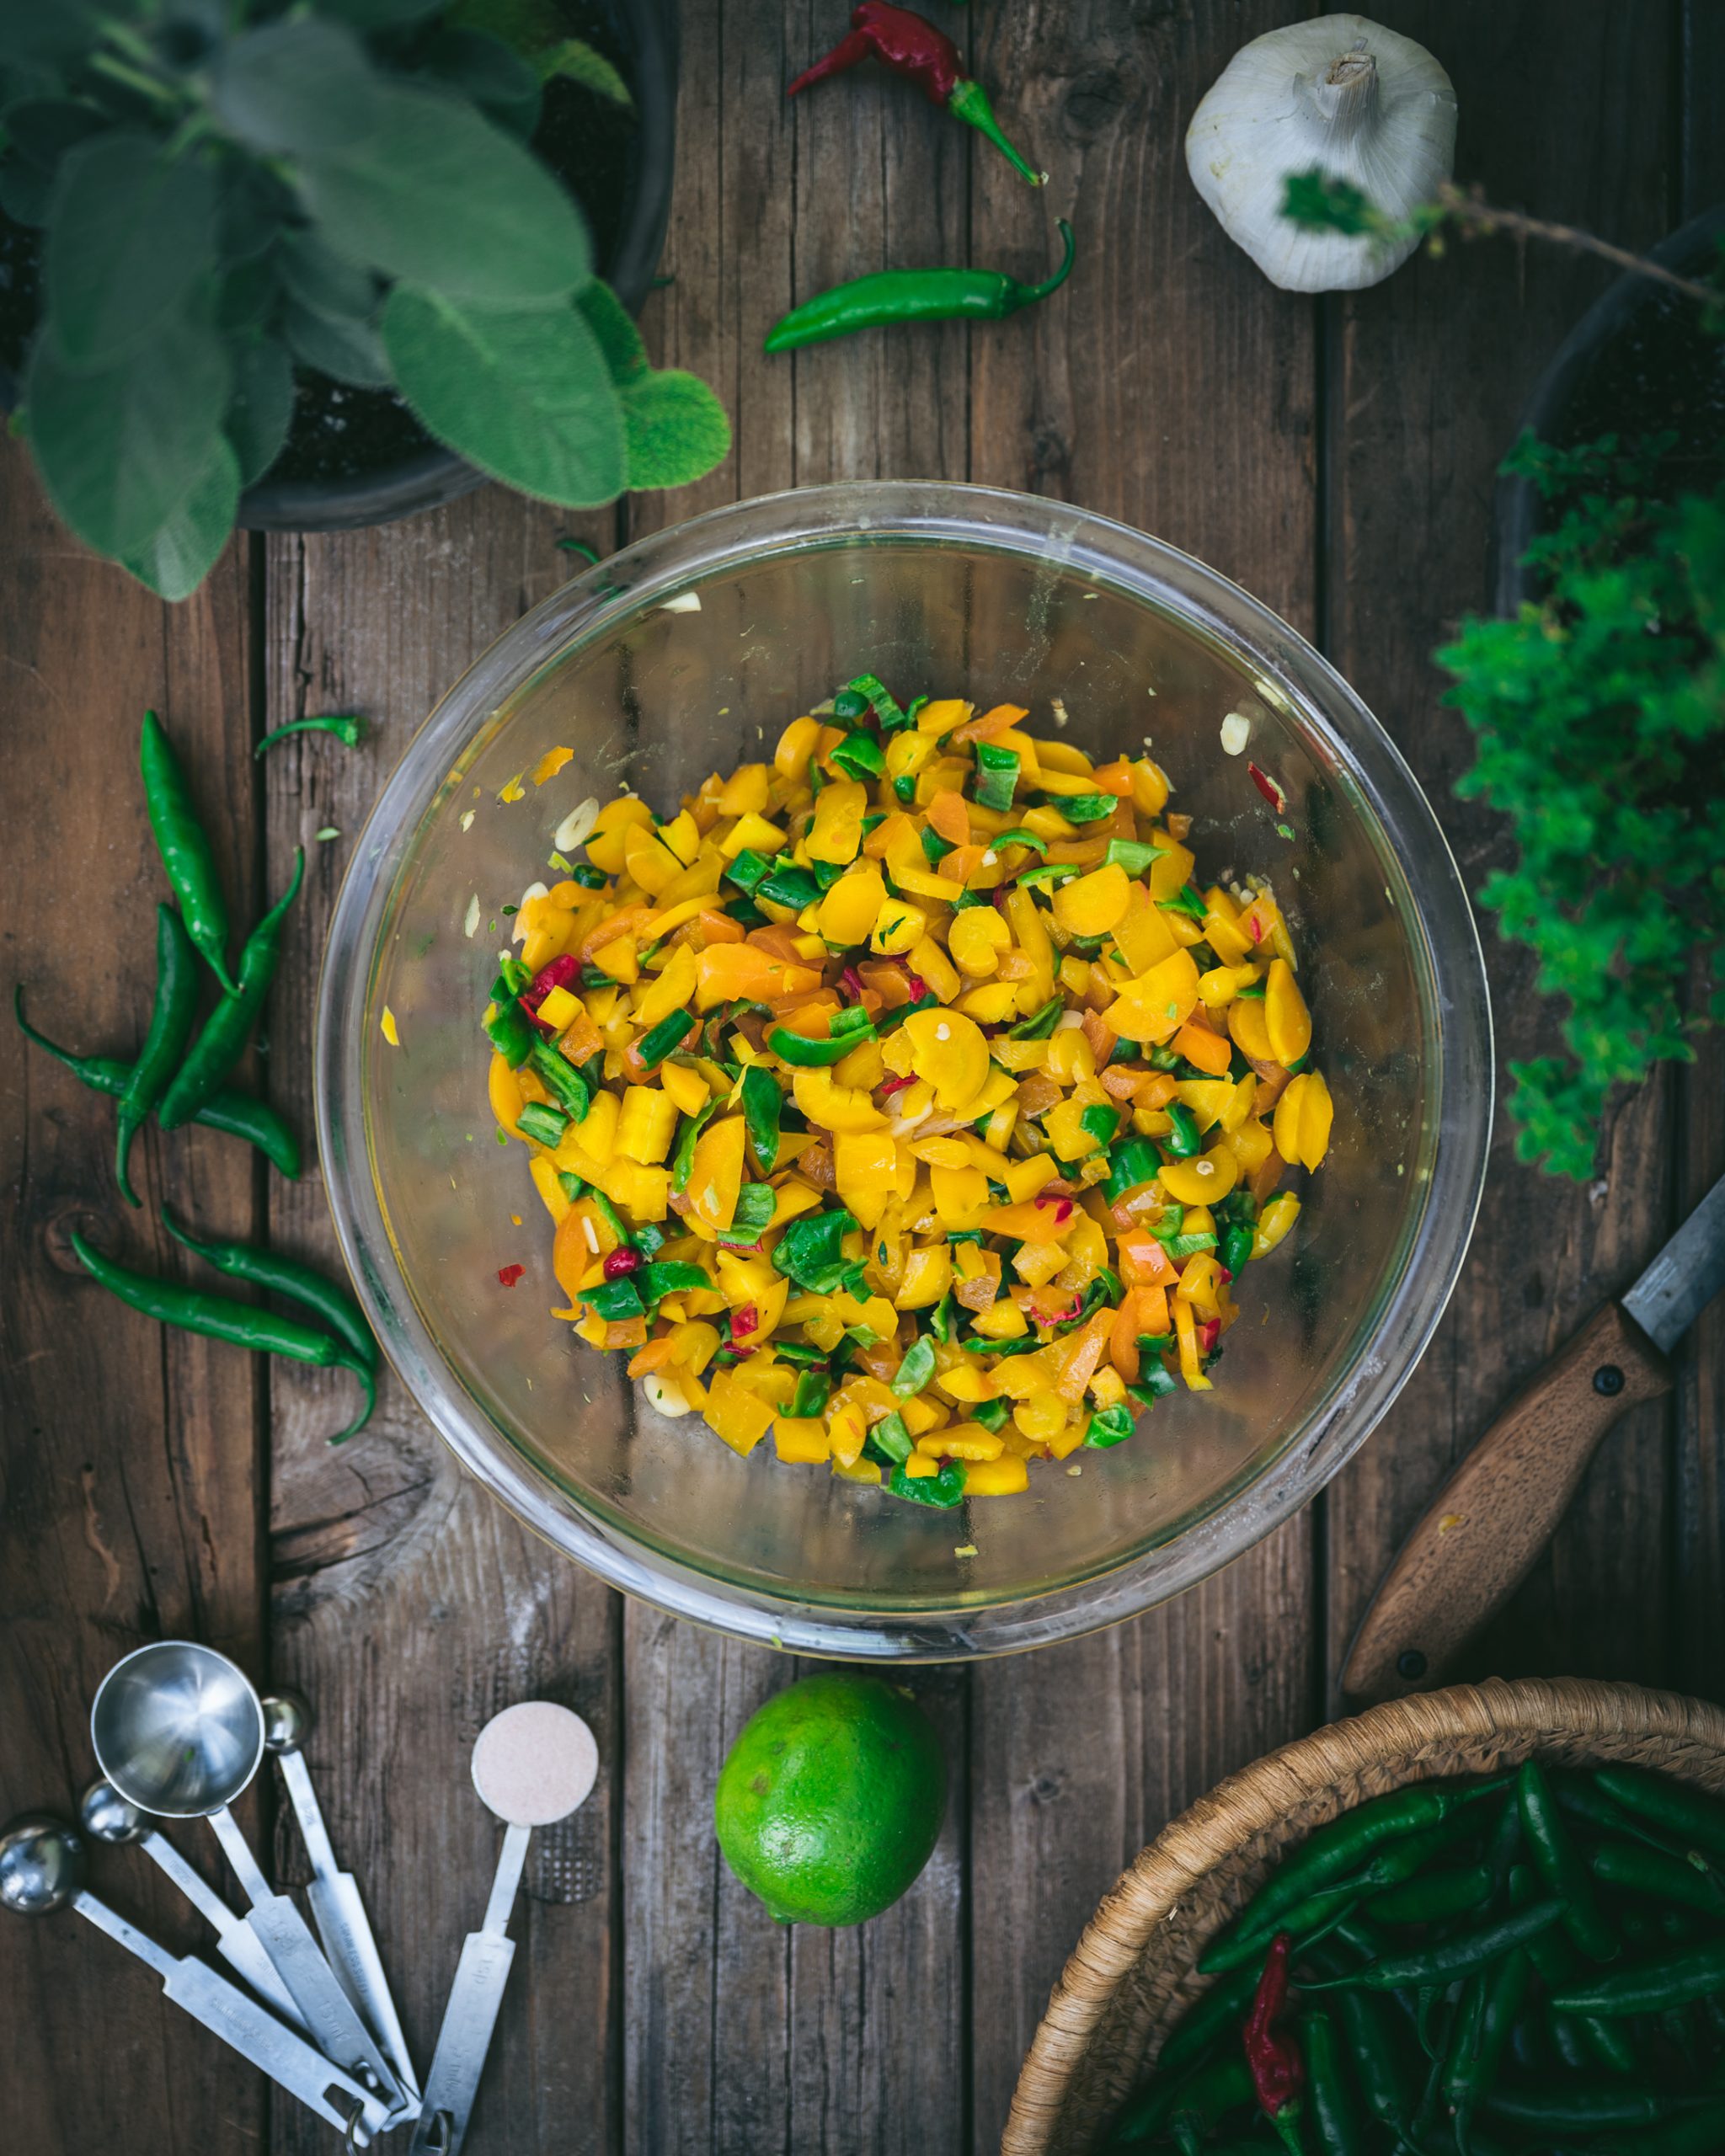
Add the Salt
Weigh the peppers and determine how much salt to add. Massage the salt into the peppers for 5 to 10 minutes with your hands until the peppers release their juice.
For most pepper fermentations, a salt concentration between 2% and 4% is ideal. Salt creates an environment that prevents the growth of most microorganisms but allows the salt tolerant lactic acid bacteria to grow.
To determine how much salt to add, the best method is to weight your ingredients, then multiply by the percentage of salt you are aiming for.
Weight of peppers: 1750 grams
Salt concentration desired: 2%
Formula: 1750 X 0.02 = 35
Add 35 grams of salt to the peppers for a 2% salt concentration.
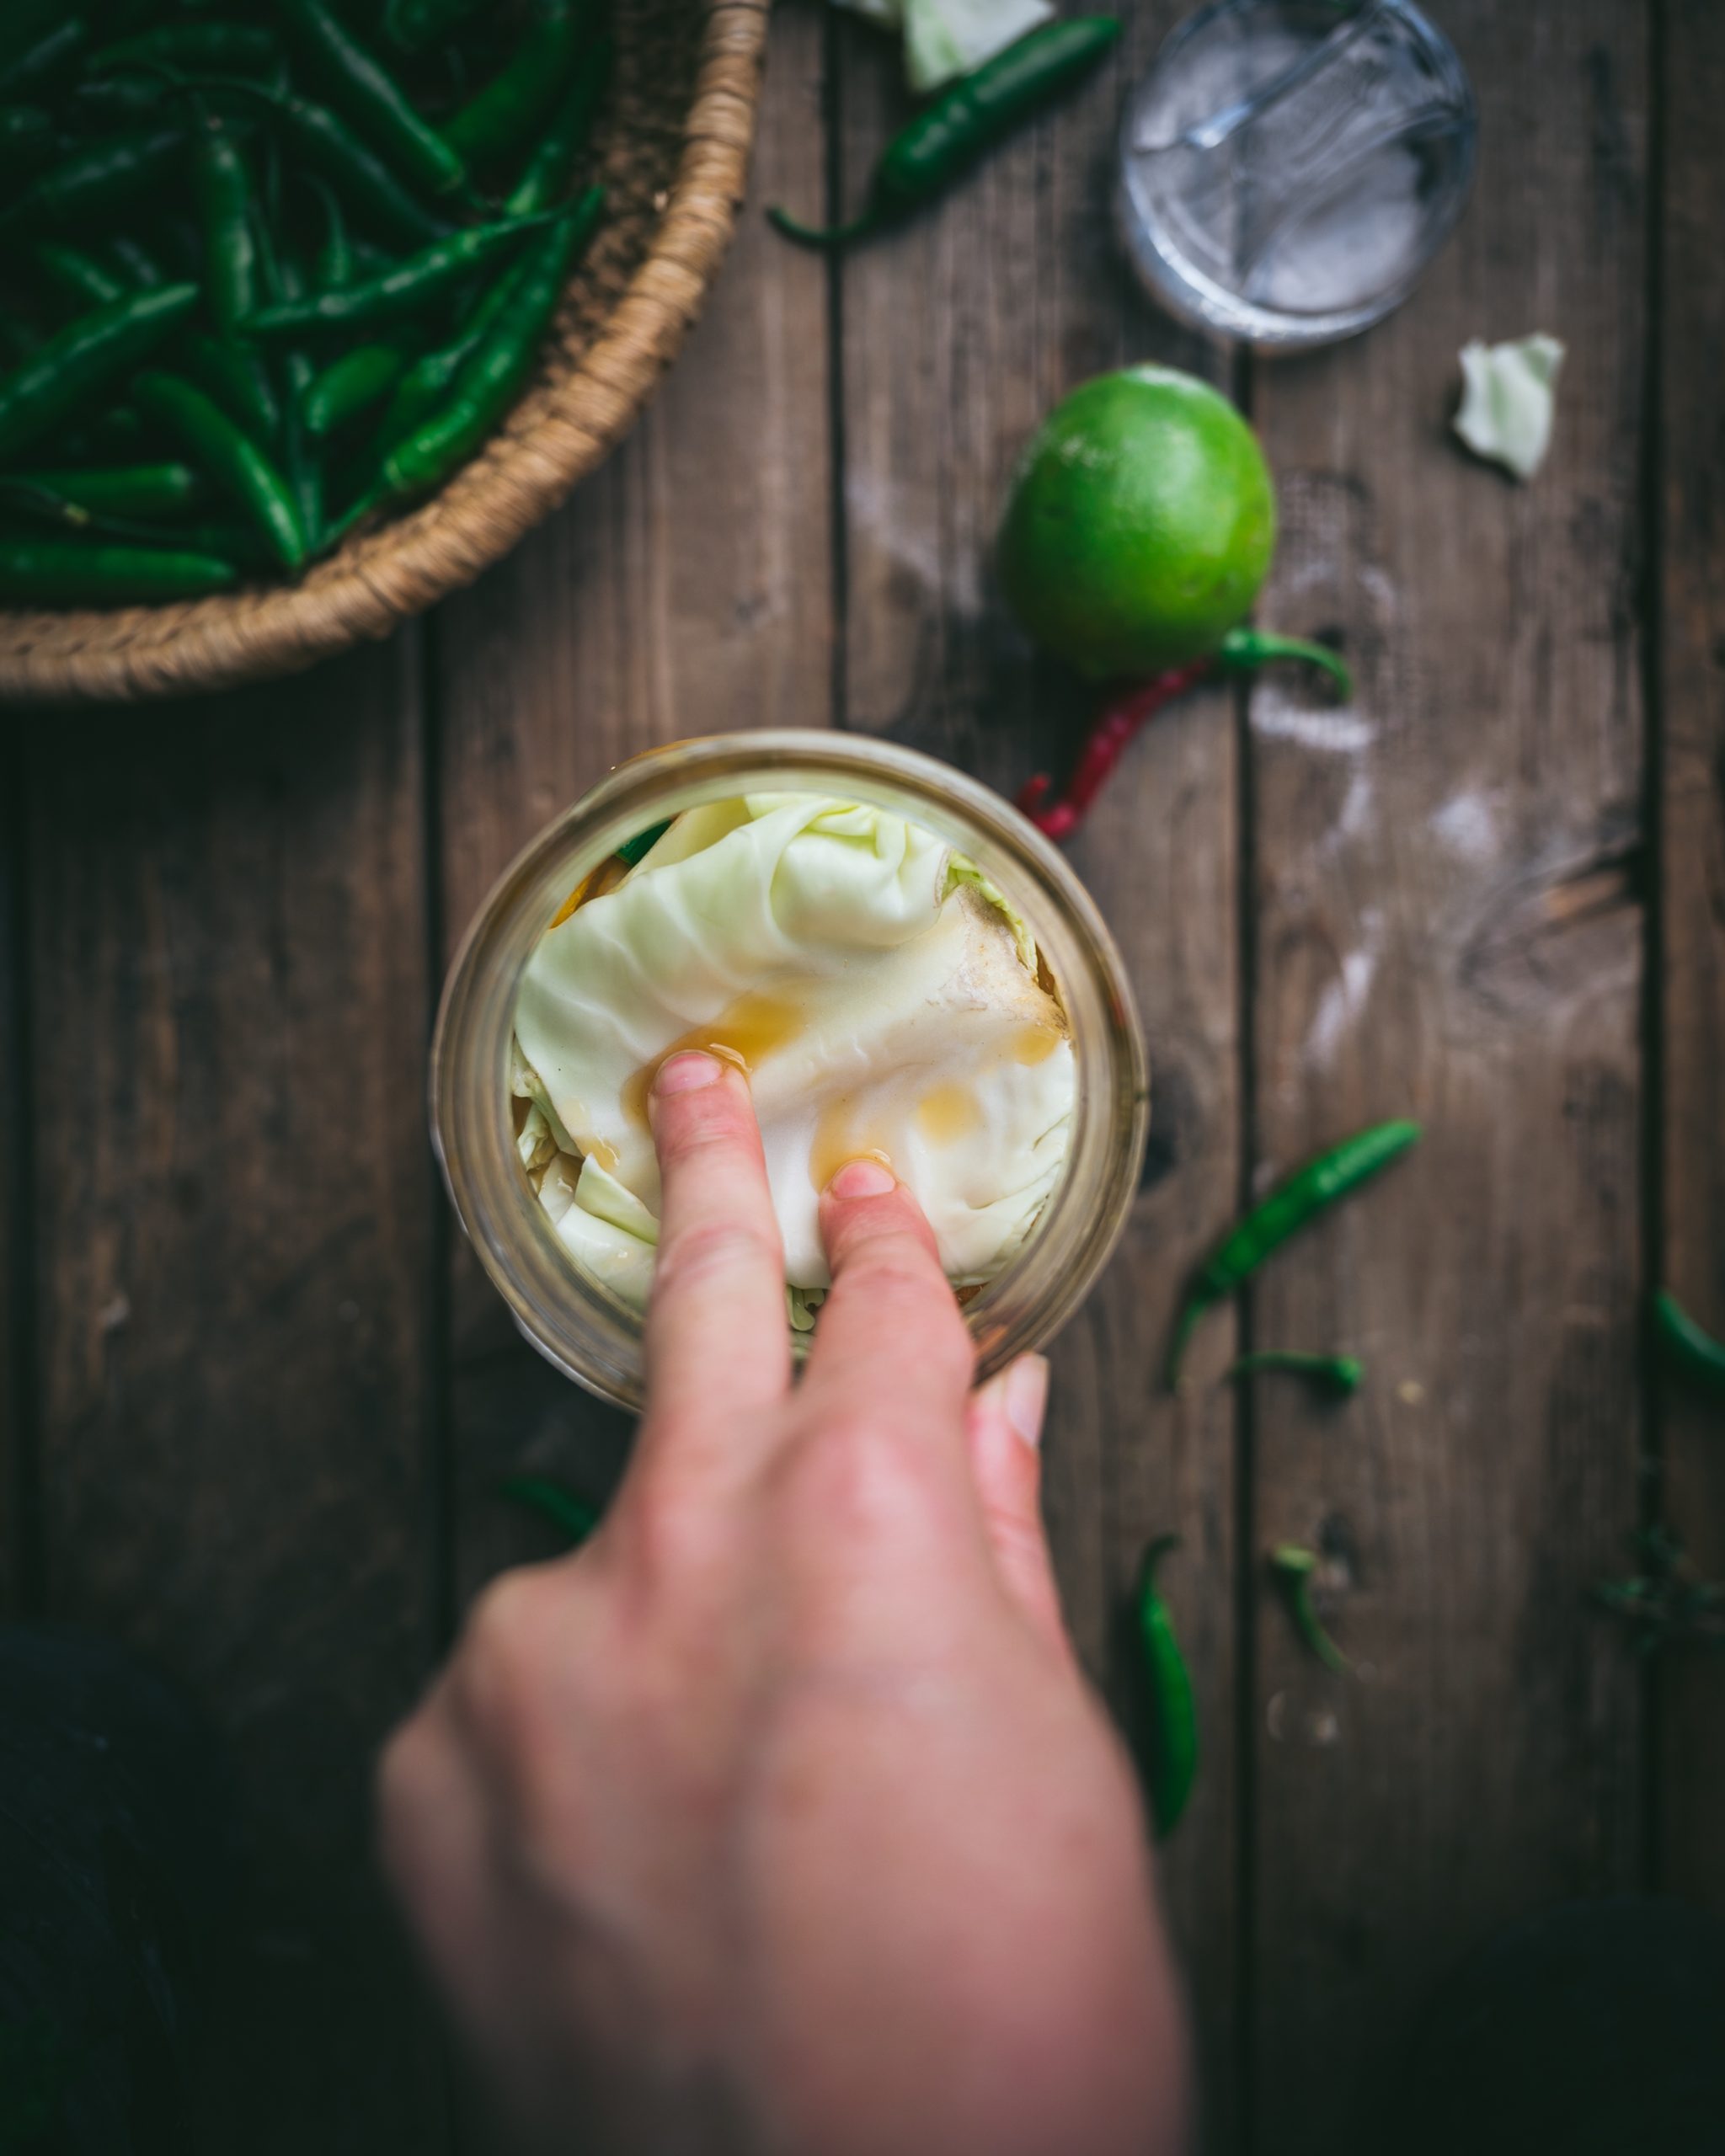
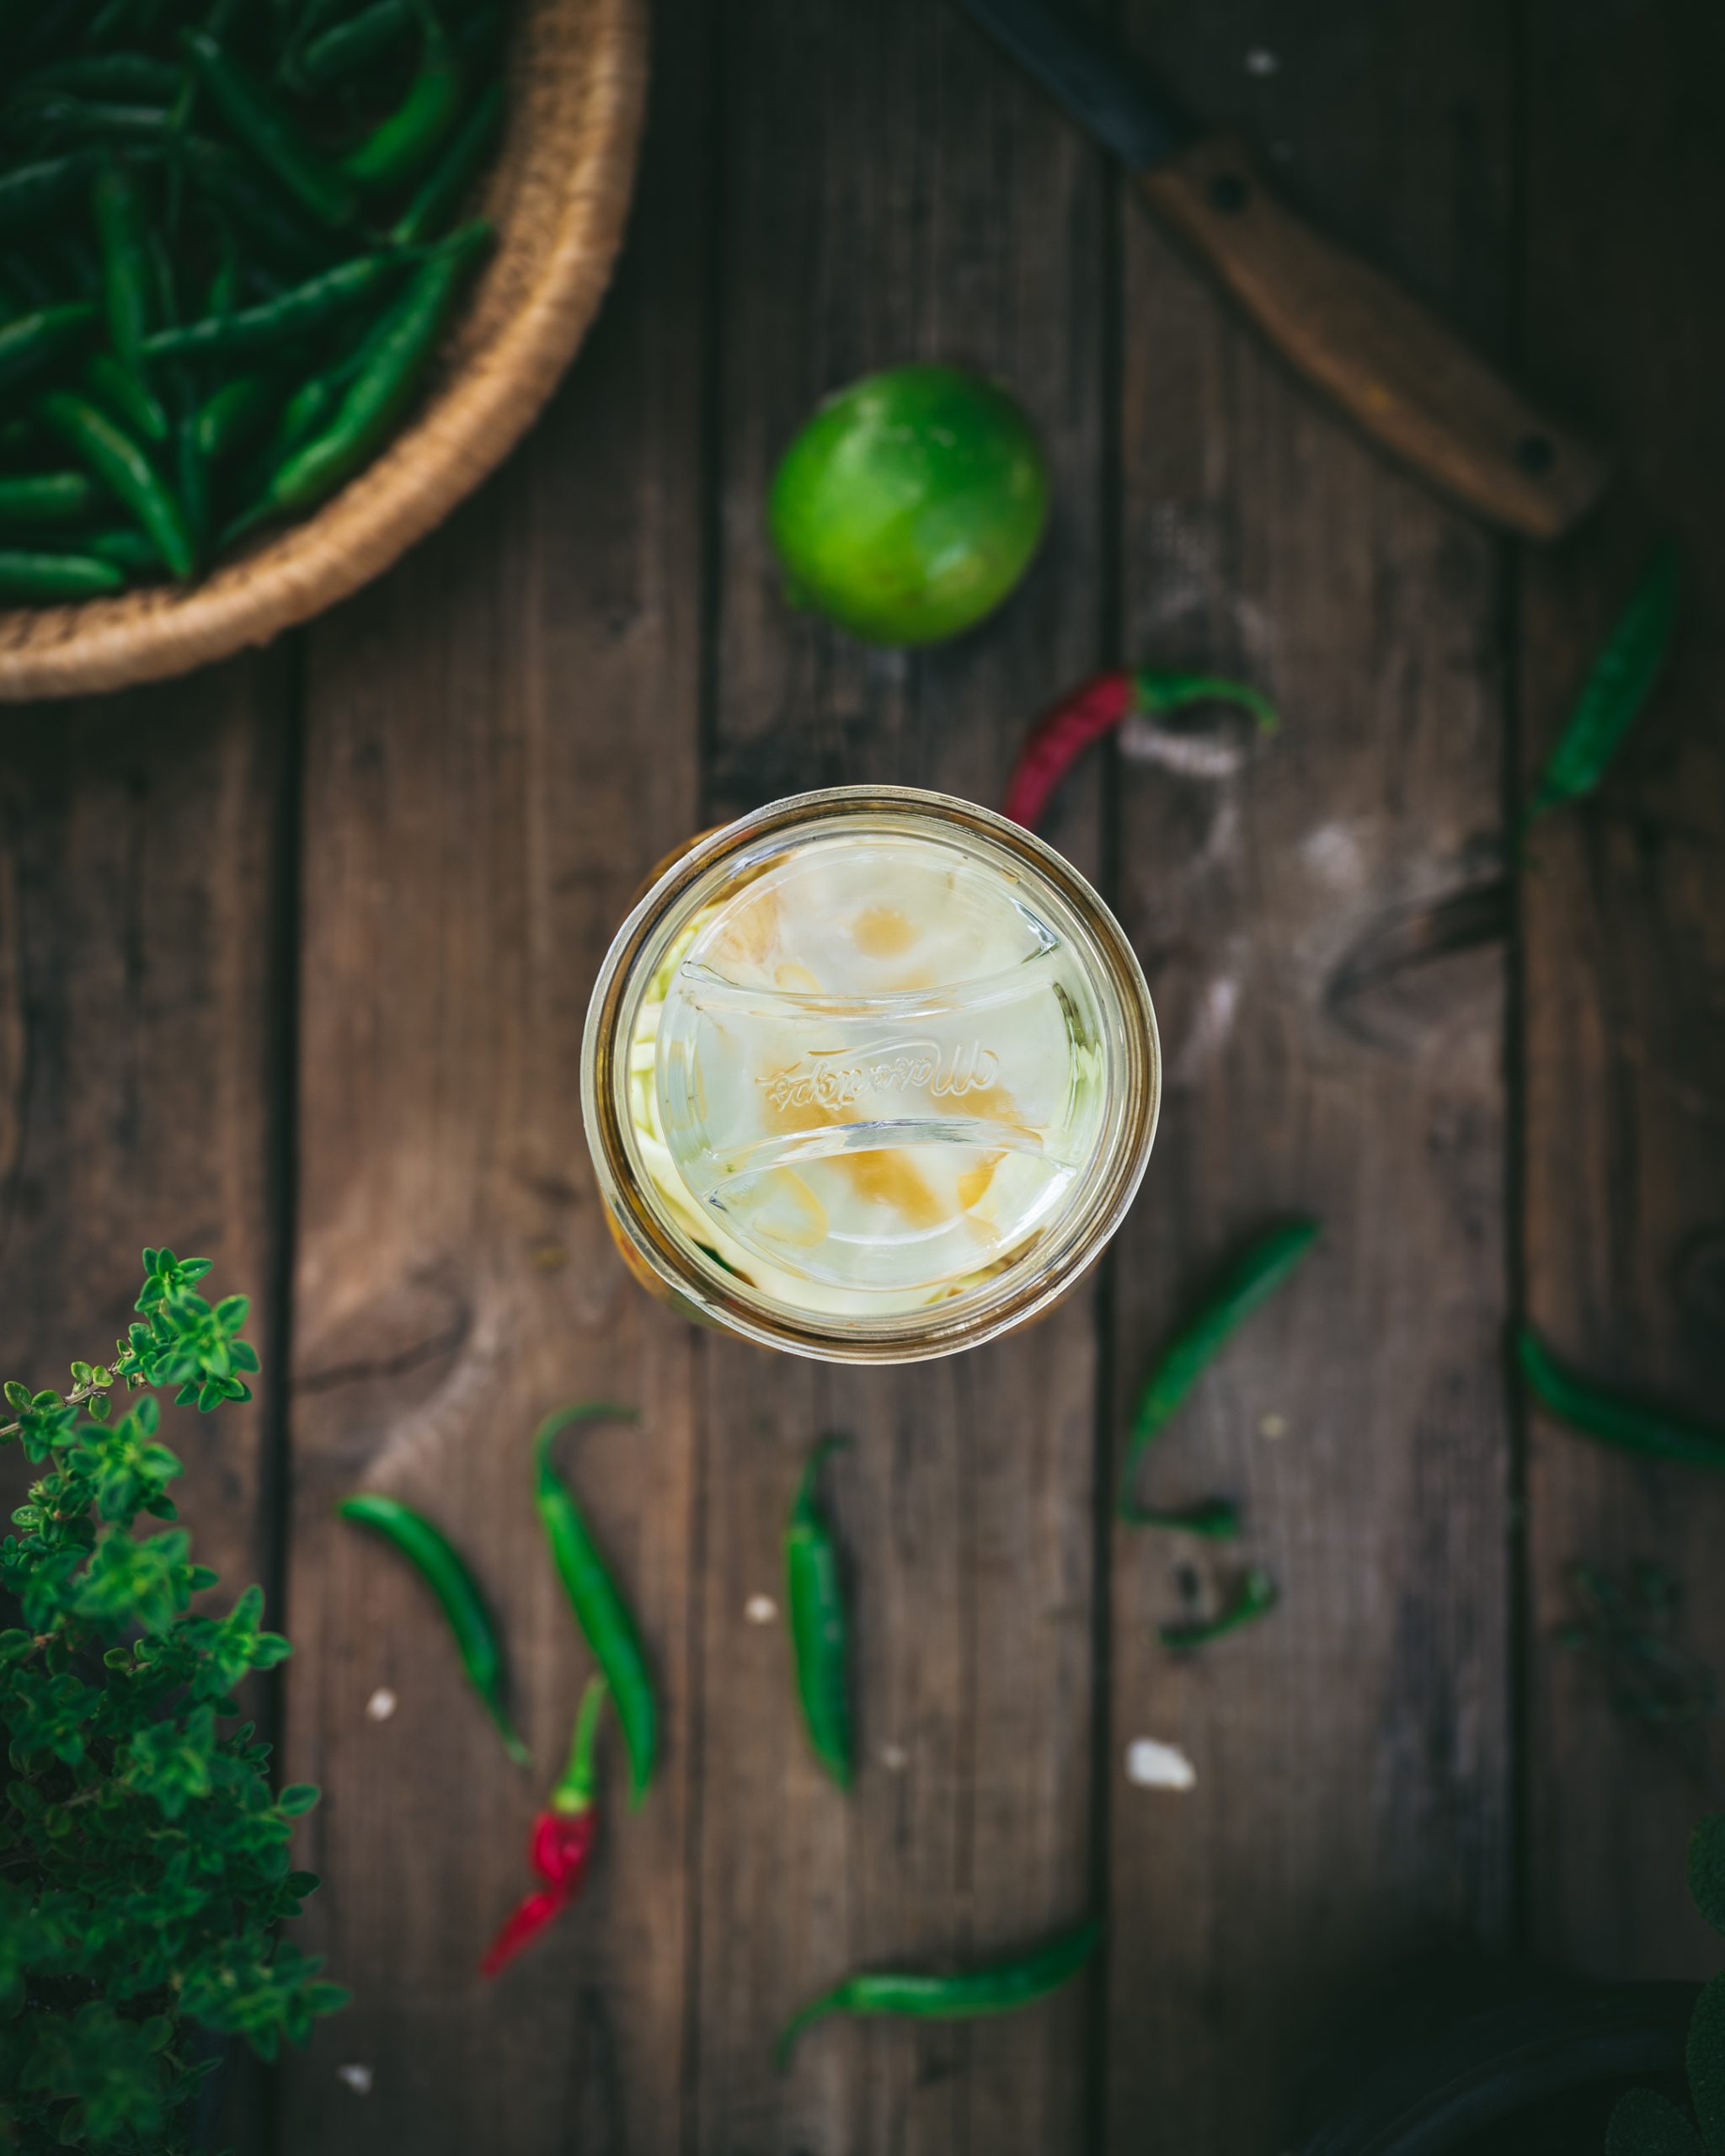
Fill a 1-quart Jar
Fill a clean 1-quart jar with any type of fresh chilies, onions, garlic, and spices of your choice. Pack the peppers in tightly and push out the air pockets using a spoon or muddler.
If you are choosing to use a salt brine, you simply chop the ingredients into the jar, pour in the brine, and top with a fermentation weight.
For a kraut-style ferment, pack everything tightly into a jar to minimize the amount of oxygen. Screw on the lid, but not too tightly so fermentation gases can escape.
An airlock is even better, because it allows gases to escape through a one-way valve but prevents fresh oxygen from entering the jar.
Note: Adding a folded cabbage leaf plus a fermentation weight will help keep the peppers submerged beneath the brine. This will help prevent the growth of mold.
Stir Daily and Monitor
Now the hard part is over, and you can sit back and allow the microbes to do their job! If you went with a salt brine, you don’t need to do anything besides keep an eye on the brine level.
For the kraut-style ferment, stir the ferment 2 to 3 times a day to mix up the top layer with the salt brine and prevent mold and yeast from growing on top.
Withing 2-3 days, you should begin to see signs of fermentation. Look for bubbles rising to the surface, a sure sign of a fermentation.
Ferment 5 to 7 Days
Ferment the peppers for about a week and begin tasting them (with a clean spoon) to monitor the taste and texture. The longer you allow it to ferment, the tangier and deeper the flavor!
Once the bubbling slows, it’s a good sign that the chiles fermented successfully and your hot sauce is ready to bottle and move to the refrigerator.
Bottle and Refrigerate
Once the hot sauce is fermented and tastes to your liking, it’s time to blend the sauce before bottling. At this point, you can season to taste with additional spices, lime juice, fresh herbs, and vinegar if needed.
For a kraut-style fermentation, the only step left is to pour the contents — brine and all — into a blender and blend into a smooth consistency before bottling.
If you fermented the sauce with salt brine, the process has an additional step. Strain out the peppers and save the brine. Add the peppers to a blender, and pour in a little brine, lime juice, and spices. Blend until pureed, then store in bottles and refrigerate.
Refrigerating slows down the fermentation so that your bottles don’t explode. If you leave the hot sauce out at room temperature, you will soon see bubbles and there will be pressure when you open the bottle.
Note: It's important to store wild fermented hot sauce in the refrigerator. It's still an active fermentation, and if left out at room temperature, the fermentation will start back up and build pressure in the bottles, so they can explode!
No Comments